Starting Hydroponics
Plantology
For a long time, humans thought that plants required soil to grow. We know better now. Plants don't care about soil. All they need is water, some nutrients and something to keep them from falling over. In fact, there's a lot of stuff in soil that plants don't need, such as fungi, viruses and parasites. Growing plants in a nutrient solution, without soil, is called hydroponics.
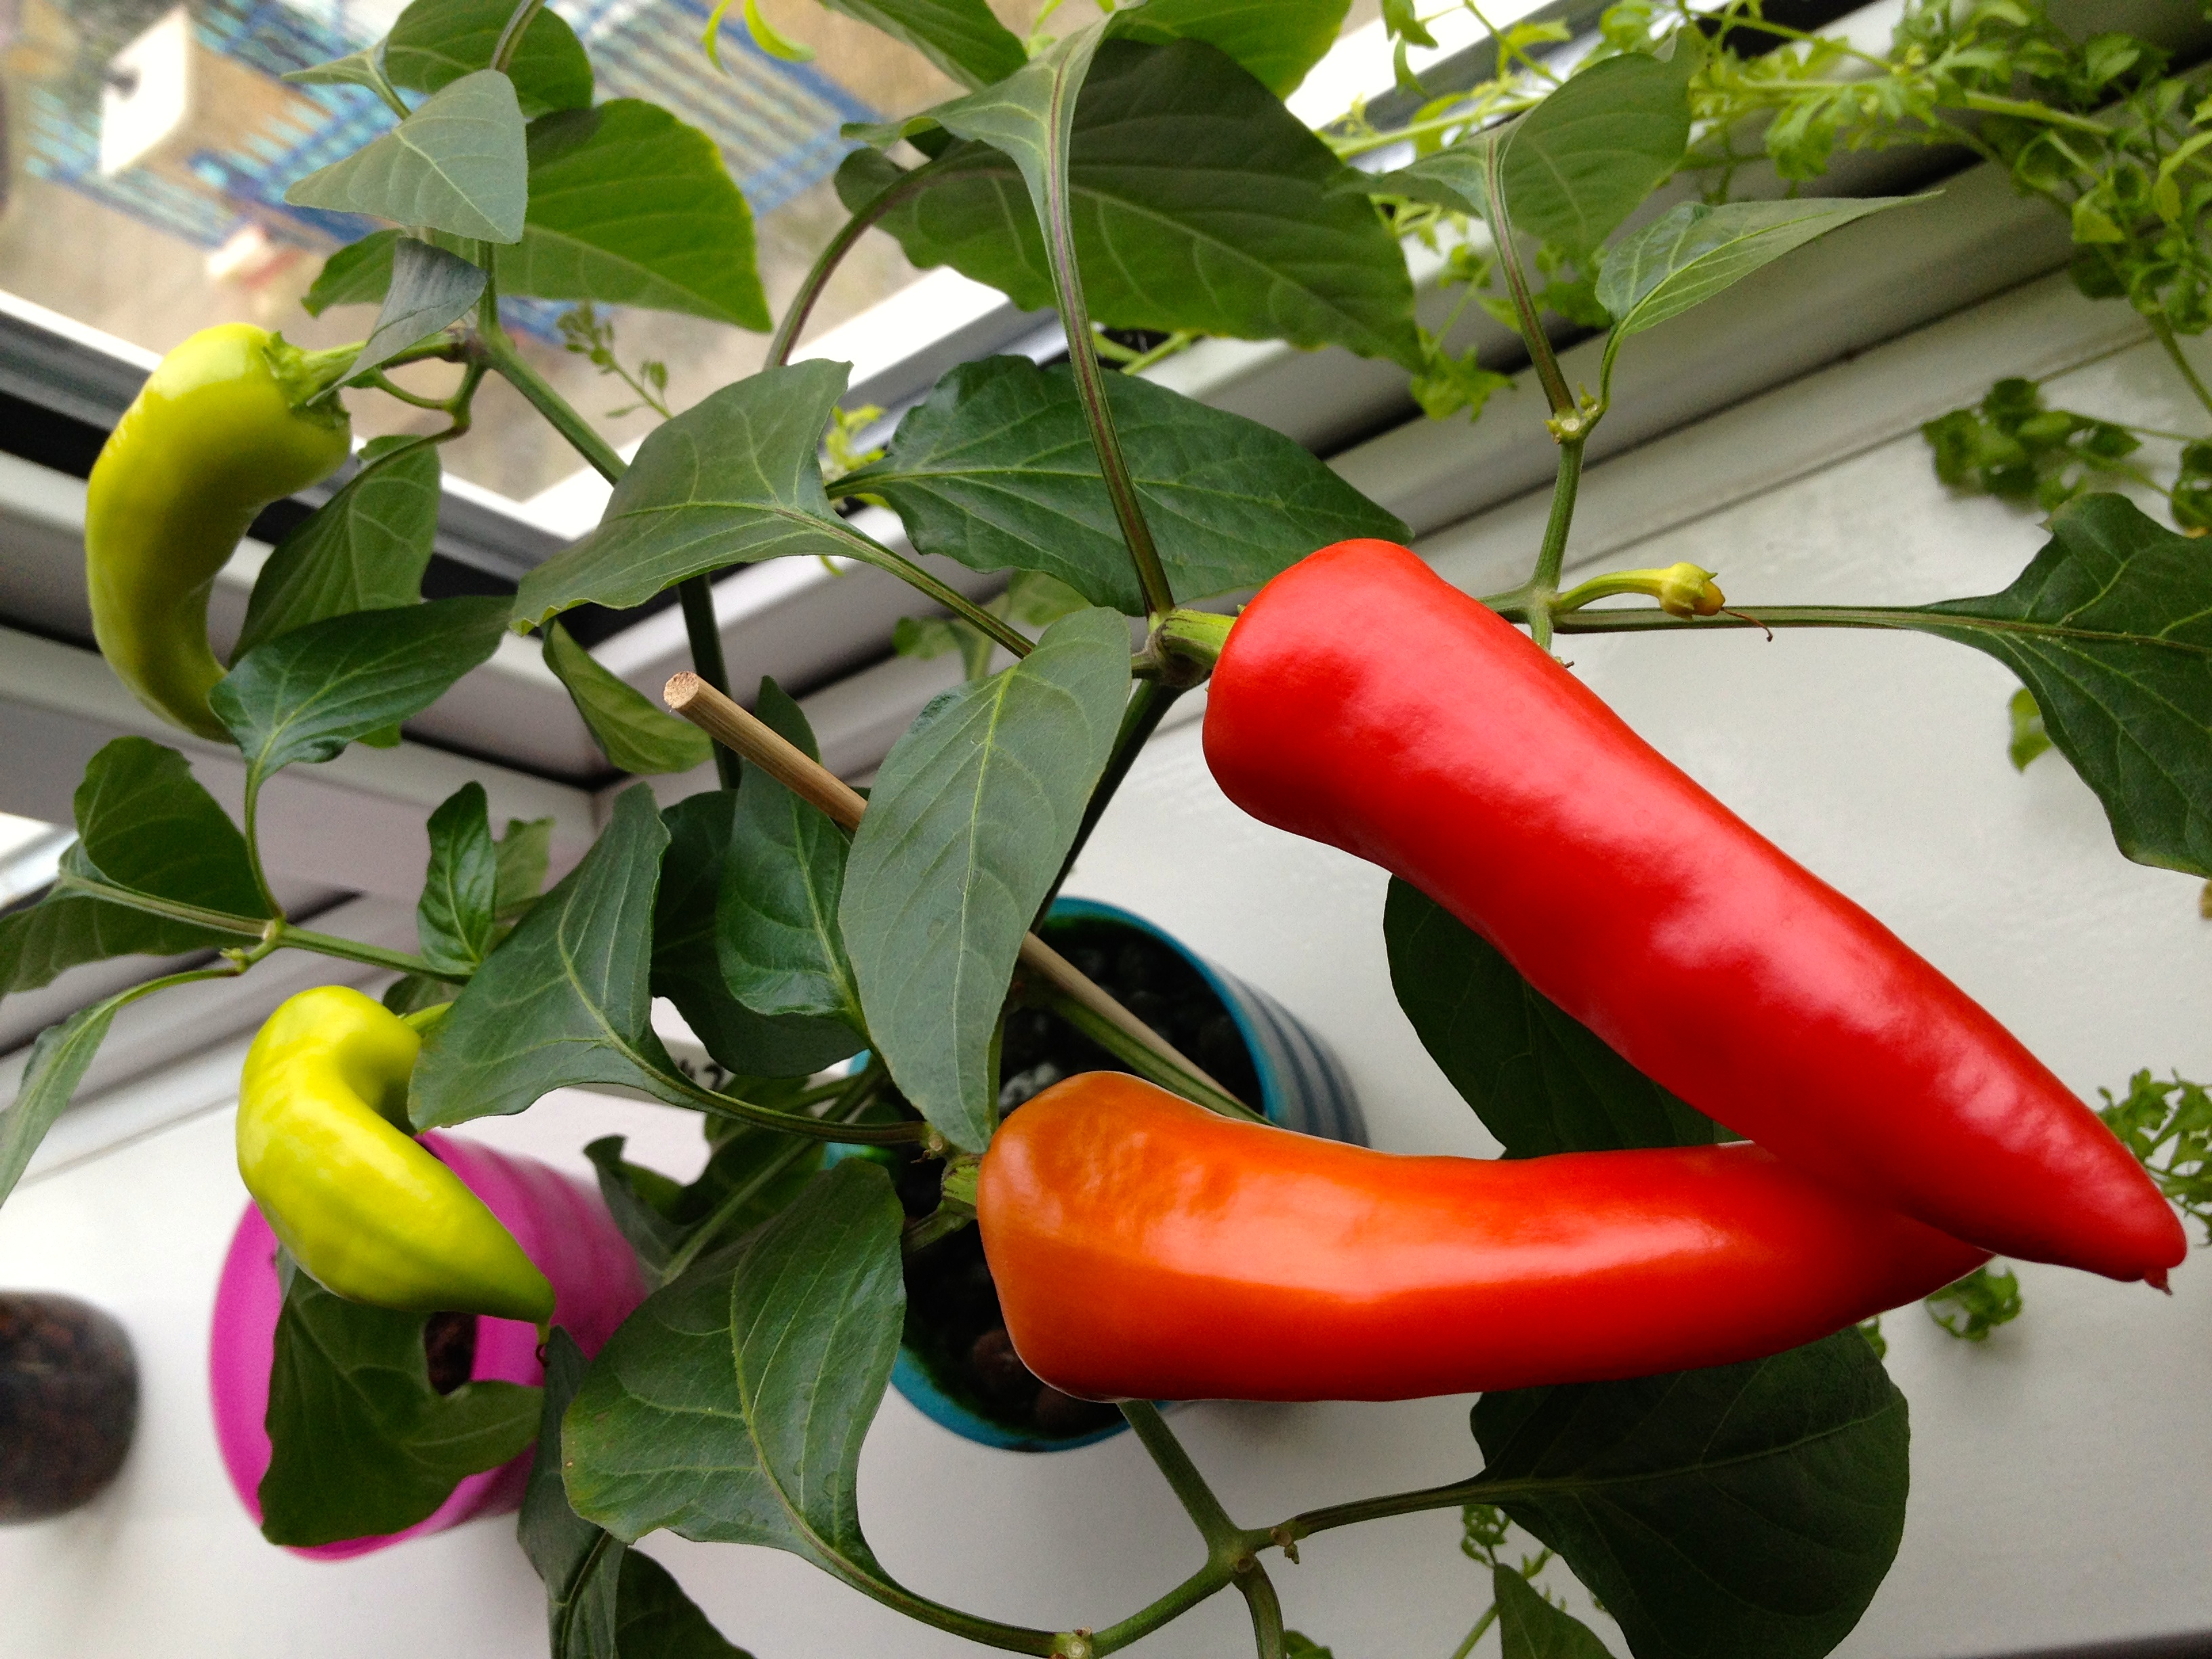
So let's do some hydroponics. There are many forms, involving pumps, vaporizers, pipes and other contraptions, but the simplest form is passive hydroponics. Passive means no moving parts. It just sits there and grows. This works well for some plants, but not all. Chili peppers love it, and so do tomatoes. I've even managed to grow an apple tree in it, but that may not be the best thing to start with. First you need some seeds. Luckily they're included in most fruits and vegetables you eat. So when you next eat your favorite chili pepper, keep some of those seeds you found inside. You can even dry them and store them for later. Or you can buy them at your local chili shop or on the internet, but beware of stale seeds that have been stored poorly and won't germinate.
Seeding
Spring is typically a good season to start, but if you're growing indoors, it doesn't really matter. Grab a clean, transparent plastic container (food delivery trays work well). Put 2-3 layers of toilet paper in there. This is cheap and works best, because by the time the seedlings are ready to transplant, the toilet paper has decayed sufficiently so it tears away (instead of tearing the fragile little roots off your seedlings). Spray it with some water until it's flat and moist (but not dripping wet). Distribute your seeds evenly around the tray. Use plenty of them, so you can pick the strongest seedlings to transplant later. Spray some more water on it all, then cover either with a matching lid or some cling wrap, and put the whole thing somewhere dark and warm (airing cupboard). Go do something else for a week.
After about a week, you should see them having germinated, which means they cracked open the shell of the seed and poked a tiny little stem upwards, and some roots downwards. Eventually the shell pops off and some leaves come out. Those first leaves are called cotyledons, which means seed leaves. They're part of the plant startup sequence. Not very complex, but able to get enough photo synthesis going to get energy for making a set of proper leaves, which is what comes next. Move the tray to a place with some sunlight and keep the toilet paper moist.
In a few more days, the first tiny sets of real leaves should appear. That means your seedlings are ready to be transplanted. Get some coir pellets (compressed coconut husk), put them into a little cup and soak them with water until they get about 6 times as tall. Poke a hole in the center of each, then carefully move your seedling from the tray into the coir pellet, without damaging its roots. Close the hole carefully so the roots are covered. Pick the straightest, healthiest, most developed seedlings for this. Bin the remaining seedlings, or plant them at your local wasteland.
Feeding
Once transplanted, your seedling will want some real food for the first time, and not just whatever can be had from the tap water you've been giving it until now. Time to mix up some nutrient shake! There's a great variety of nutrients plants need, and the fertilizers used for soil (often pure N-P-K) typically don't have all of those, so you'll need some hydroponics nutrient. I've had good success with Plagron Hydro, but pretty much any that are expressly for hydroponics should work. They usually come highly concentrated in two component bottles (A+B). Mix it according to the manufacturers instructions (a cheap plastic pipette is very handy here) and pour 1-2 cm of it into the bottom of your cup with the coir pellets (don't pour it over the plants).
Now it's time to be patient. It'll take several weeks for your seedlings to take root in the coco coir. You'll know they're good and ready when you start seeing little root tips exploring outside the thing. That means they want more room, so let's give it to them. The final transplant goes into a planter with clay pebbles. Make sure your planter is water- and lightproof. Normal flower pots won't do, they have holes in the bottom for the water to drain out. In hydroponics, we want the water to stay in. Light is also bad, because it encourages algae growth, which will steal the nutrients from the plant, and because most roots aren't too fond of sunbathing. Wash your clay pebbles in a colander to get rid of the clay dust. Now pour clay pebbles into your planter, put the coir pellet with your plant in the center near the top and cover it with a layer of pebbles, taking care not to crush the stem. Pour some nutrient solution in there, to about 2/3rds full.
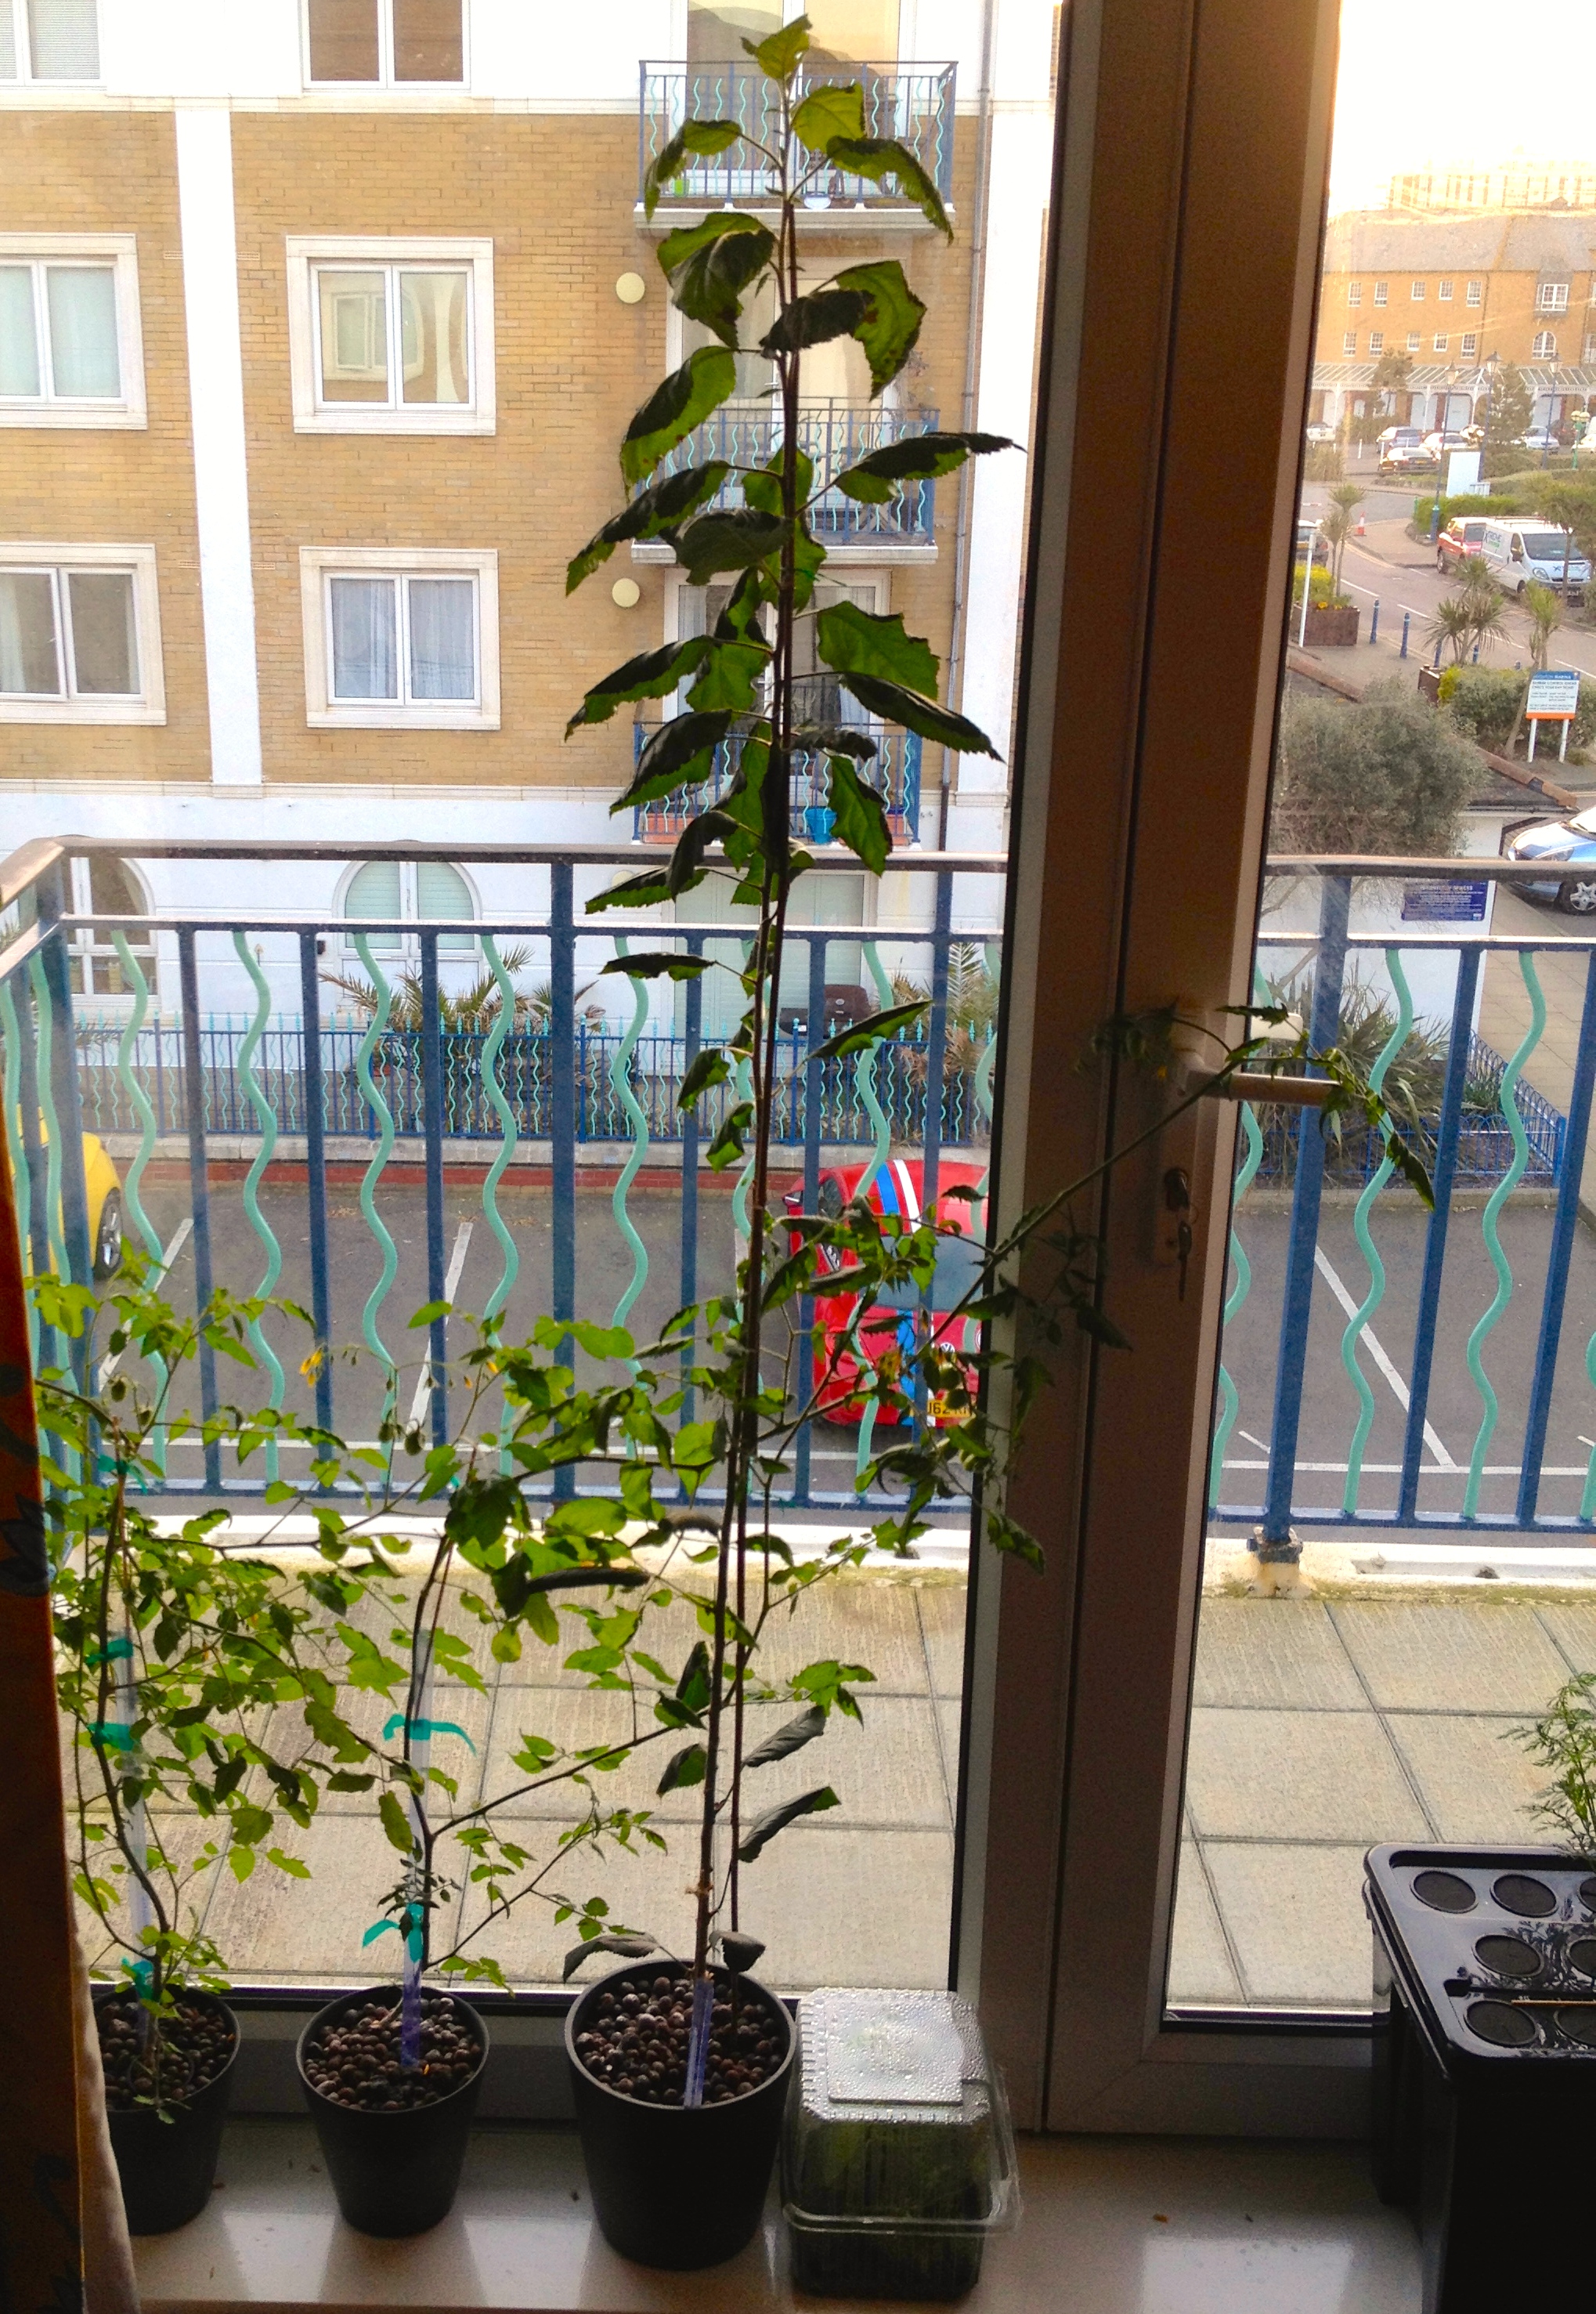
From now on, the plant just requires feeding. Ideally every other day, so the level of nutrient solution can drop a bit and fresh oxygen can reach the roots. Do not feed too much, or you'll get rotten roots (you can smell when that happens). A water level indicator would be useful, but in practice they mostly end up getting stuck and you can just poke a stick down the side of the planter to gauge the water level. If you put them on a windowsill or anywhere with mostly directional light, rotate the planter 90 degrees each day to encourage more even development. It'll take a few months for chili plants to reach maturity, so I'll continue in the next post.