Coppercoat Part 1 - The Scrapening
Antifouling,
Boat,
Coppercoat,
Refit,
Sanding
Seawater is full of life, which rapidly settles on any submerged surface. This is interesting to observe, but the extra drag slows boats down, leading to increased fuel usage and for sailboats, awful performance in light airs, handling difficulties and in extreme cases even seized rudders or propellers. That's why we call the life settling on our hulls fouling and spend a great deal of time, money and effort in applying products generally referred to as anti-fouling.
These products come in a variety of colours, although blue appears to be the most common one around here. They contain a variety of more or less toxic ingredients. Due to increasing regulation, the older the product, the worse the ingredients. Most of the products available to us pleasure boaters last only 1-2 years, and often less than that. Commercial antifoulings can last longer, but are not typically available for DIY application. One product however sticks out: Coppercoat from AMC (Aquarius Marine Coatings). They advertise with a 10+ year lifetime, virtually no maintenance and a price that would be paid off with one or two saved lift-outs.
So why isn't everyone using this fantastic stuff? If you ask around, you'll hear mixed stories. Some tell you what a great product it is, others will warn you about it eating away all the metal parts of your boat, blistering, not working at all or the expensive coating washing right off your boat on the first trip out.
Instead of listening to stories, I've had a look at other boats and talked to their owners. In Brighton boatyard, an Oyster 55 was being lifted out which had Coppercoat applied a few years ago, and I was impressed: The hull was coated in only a thin layer of slime and none of the usual hard fouling growth, such as barnacles, tubeworms or mussels. It also washed off easily with a pressure-washer, leaving a smooth green surface behind that was ready to be launched again immediately. Another boat owner was however drilling small blisters out of his self-applied Coppercoat and patching them up. The anti-fouling was working, but for some reason blisters appeared between it and the hull. Yet another turned out to be an early adopter and said their Coppercoat was more than a decade old and it was now time to renew it - with fresh Coppercoat, as they were very happy with the results. Oh well, two out of three - and the ten year lifespan apparently wasn't exaggerated either.
I also spent a lot of time reading everything I could find online, starting from the manufacturers preparation and application instructions to YouTube clips showing how to do it and what to pay attention to when doing it. There are several important factors for a successful application here. The most important one is preparation, and I'll go into detail about this here, covering application in a later part.
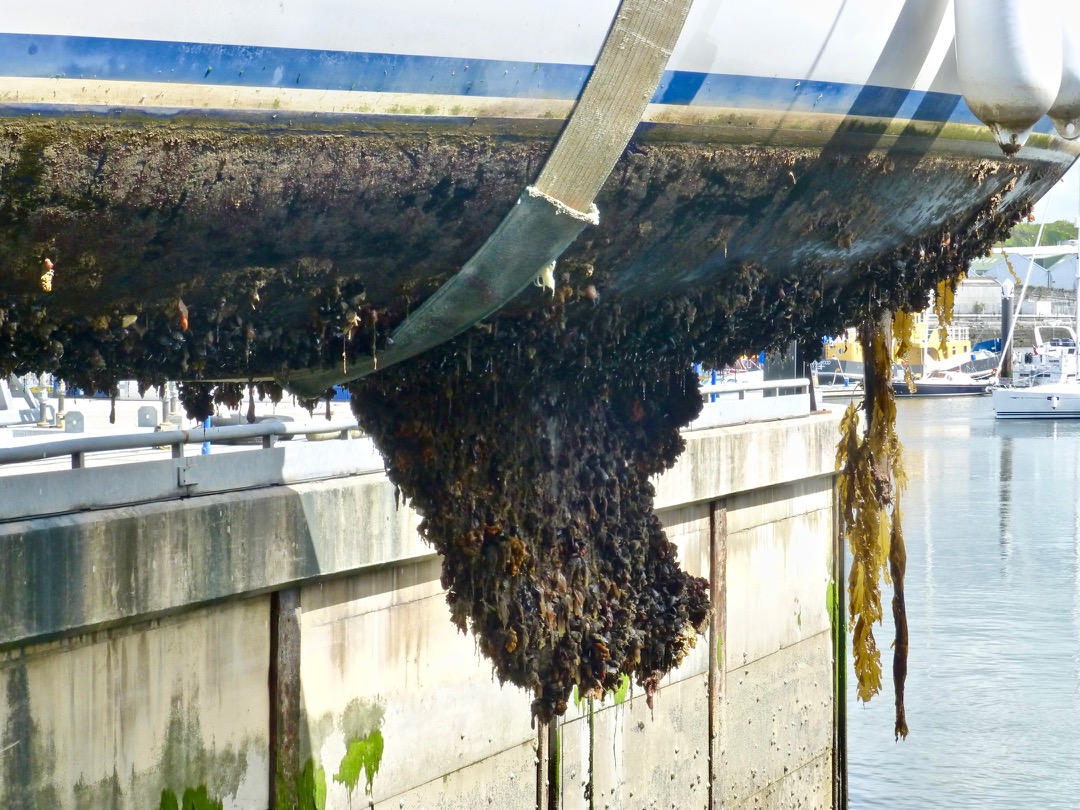
Coppercoat is a permanent antifouling and comes as a two-part Epoxy coating (well, three really, but we'll get to that later). The manual states it must be applied to a sound substrate that is well keyed. Well keyed basically means sanded with a coarse grit to provide a rough micro-surface for mechanical adhesion. Sound substrate means something that won't fall off whatever it is clinging to, taking the Coppercoat with it. So applying it over several layers of crumbling old "blue stuff" would be a very bad idea. I had to remove it all, down to the original factory gelcoat. This is where the hard work began.
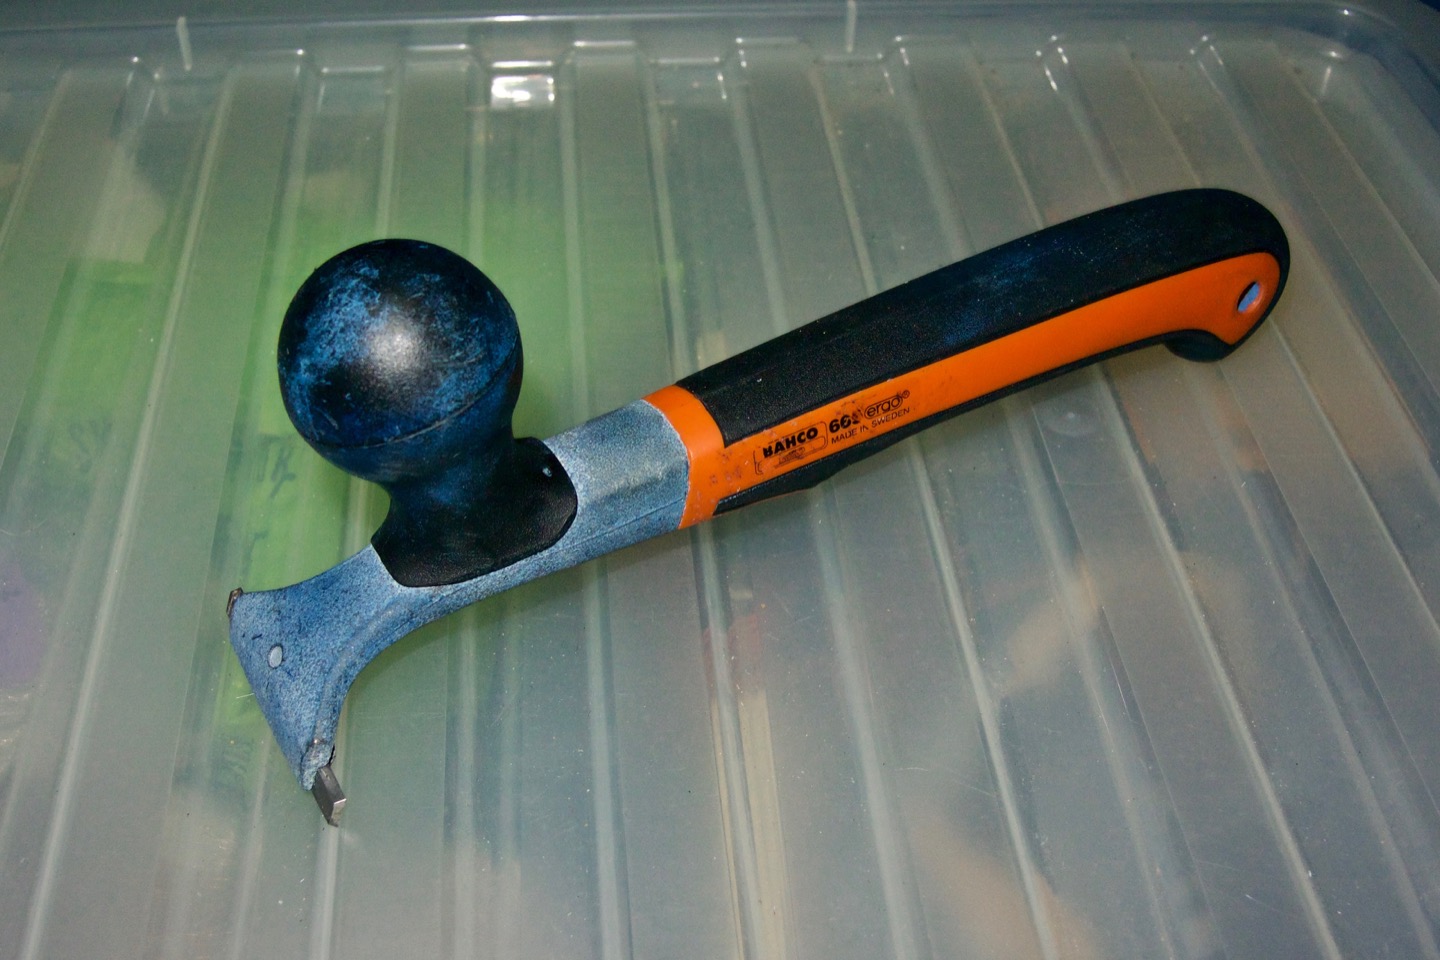
If you have lots of money, you can hire a company that will blast the old stuff off the hull with a high-pressure slurry of water and sand, grit or even walnut shells. I've asked one company for a quote to do this, and the resulting four-figure sum provided me with sufficient motivation to tackle the job myself. I got the best hand-scraper I could find, a Bahco 665, plus a spare tungsten carbide blade. The blade first met a grinding stone, to round off the edges, which could otherwise dig in and leave deep scratches in the gelcoat. The blades are incredibly hard and durable and are reversible, so I needed only one-and-a-half blades for the entire hull job. Don't try this job with just a putty knife, you'll soon give up and count the money for the sandblasters again.
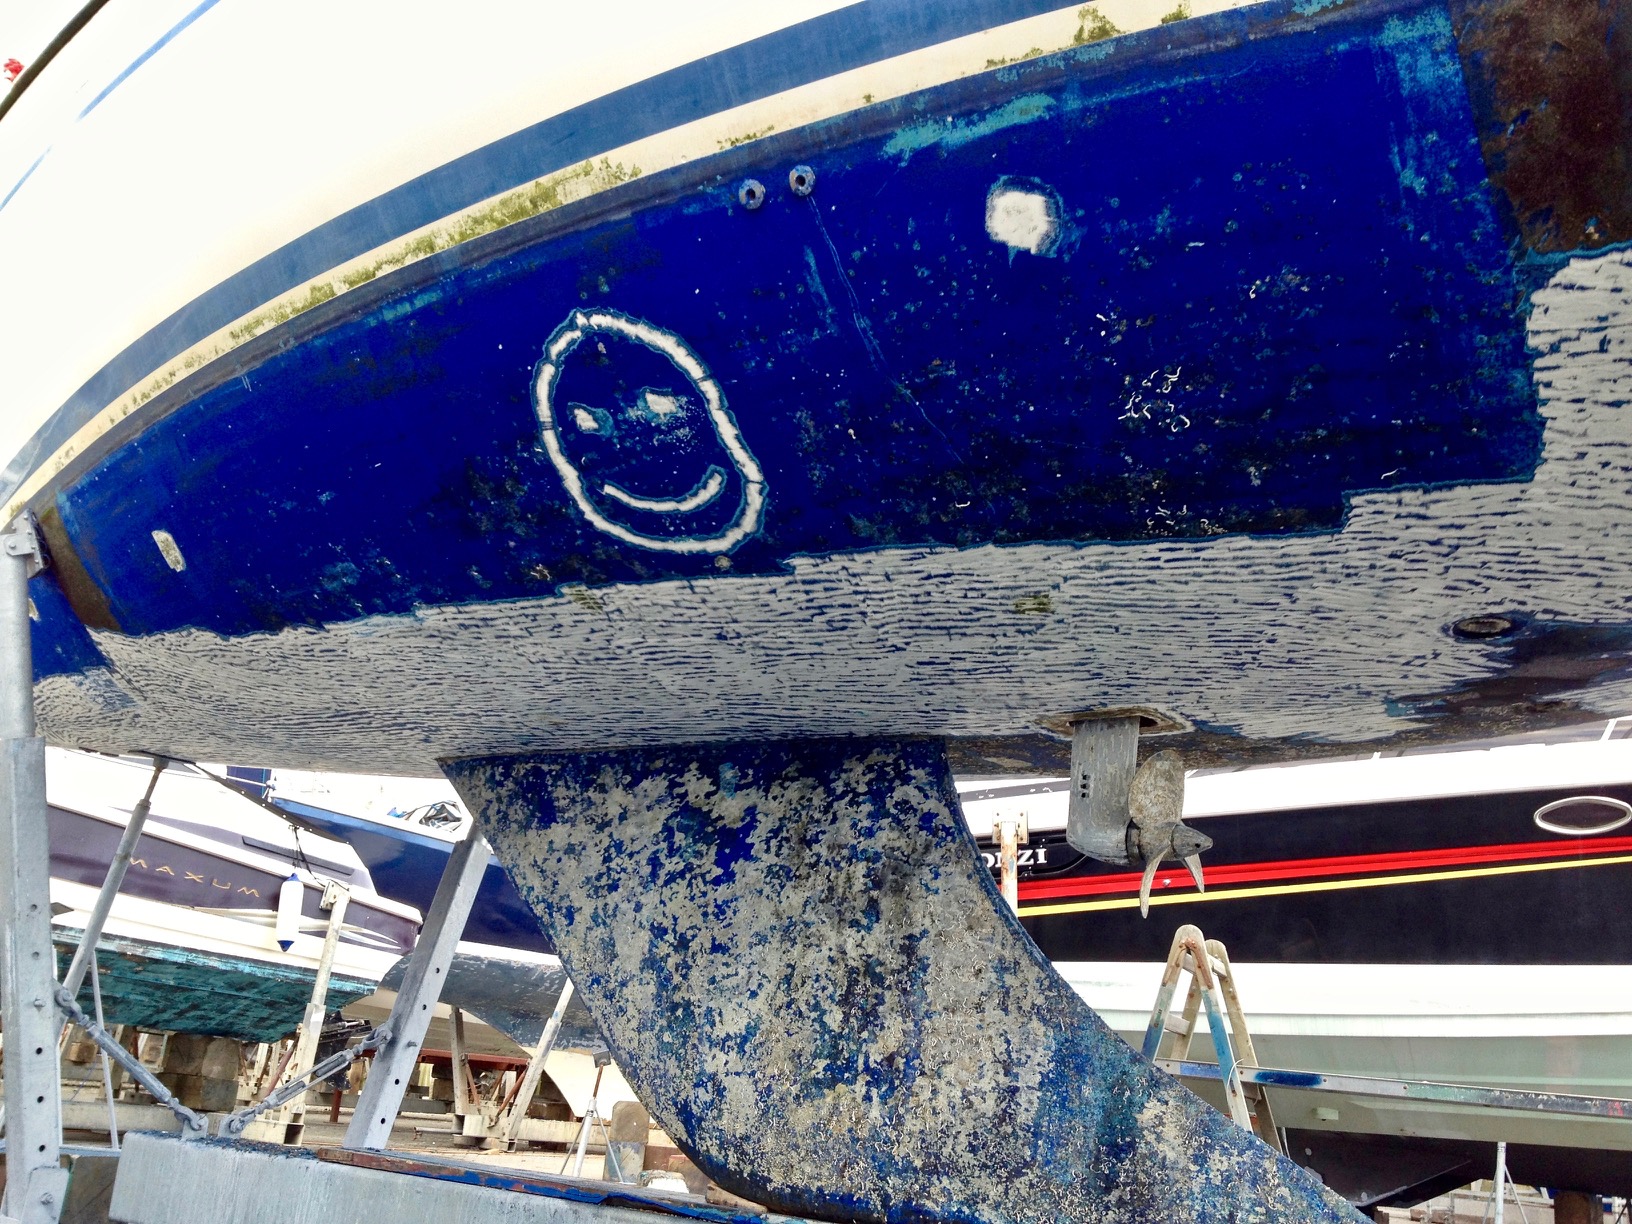
It's best to scrape when wet. The blue antifouling was waterlogged and came off easiest when the boat was fresh out of the water and still in the slings, waiting for the yard crew to come back from lunch. It got tougher as it dried out, so I tried keeping it wet by repeatedly wetting with a hose, which provided handy breaks from the horrible scraping job and kept it at least somewhat moist, which also meant it flopped right to the floor instead of flying off as dust. Obviously you'll want to wear protective gear for this job. Use your primary (right) hand to pull the scraper across the hull sideways, while controlling pressure with your other hand on the round knob. You'll soon get a feeling for this and I was able to take off 5 layers of antifouling and one layer of primer with one scrape without demolishing the gelcoat. It took me about two full days to scrape the entire 40 foot hull, keel and rudder on my own, although not consecutive ones, as my muscles were refusing to work for long on the second day and I had to take a break and do something else for a while. Make no mistake, this isn't a fun job at all, and there's another one following right after.
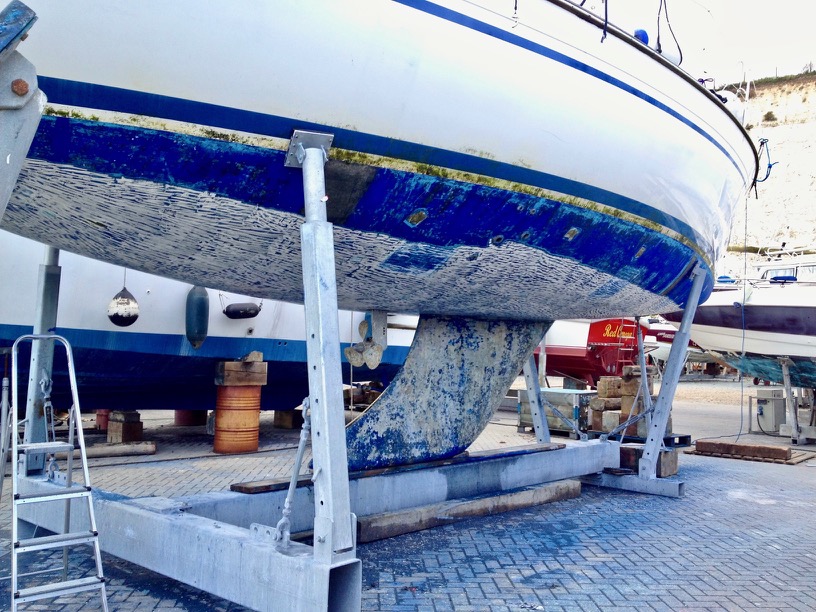
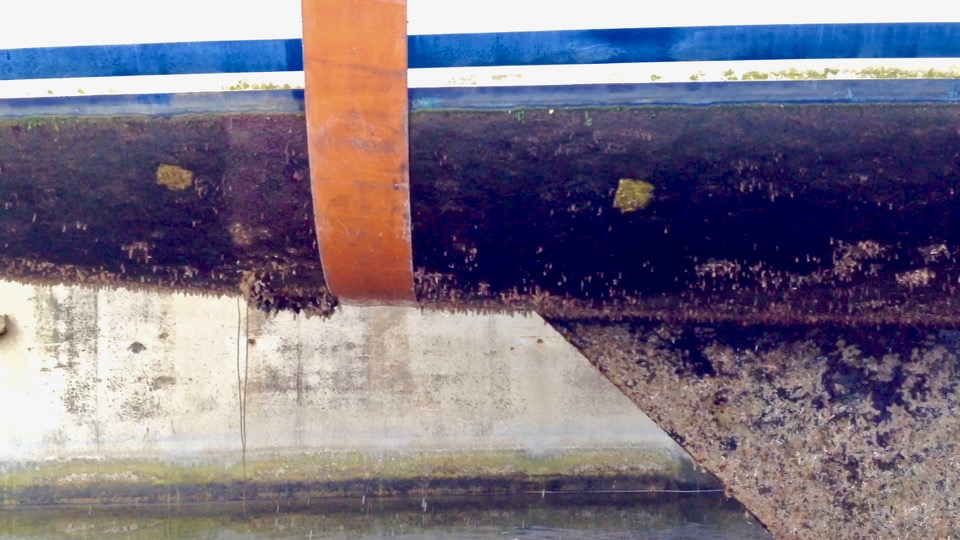
The rudder got a careful scraping too and then the keel. The keel is cast from a lead-antimony alloy and had no gelcoat, just a primer. It all had to come off, although talking about poor adhesion, much of that had already fallen off during the pressure-wash. As you can see from the photos, once the scraping is done, there's a funny pattern of blue stuff left on the hull, a bit like a van Gogh painting. That had to come off too, so I got out my then brand new Lidl/Parkside random orbital sander and went to work. The sanding here serves two purposes, removing the leftover van-Gogh-stripes while simultaneously keying the gelcoat in preparation for Coppercoat. So you'll want to use fairly coarse sandpaper discs for this job, somewhere between 80 and 120 grit. This makes quick work of it, except of course you're working overhead all of the time and the sander gets heavier and heavier in your arms. The whole sanding job took me under two man-days, but again with a day off between, as on the second day I simply could not lift my arms above chest level, no matter how much I tried.
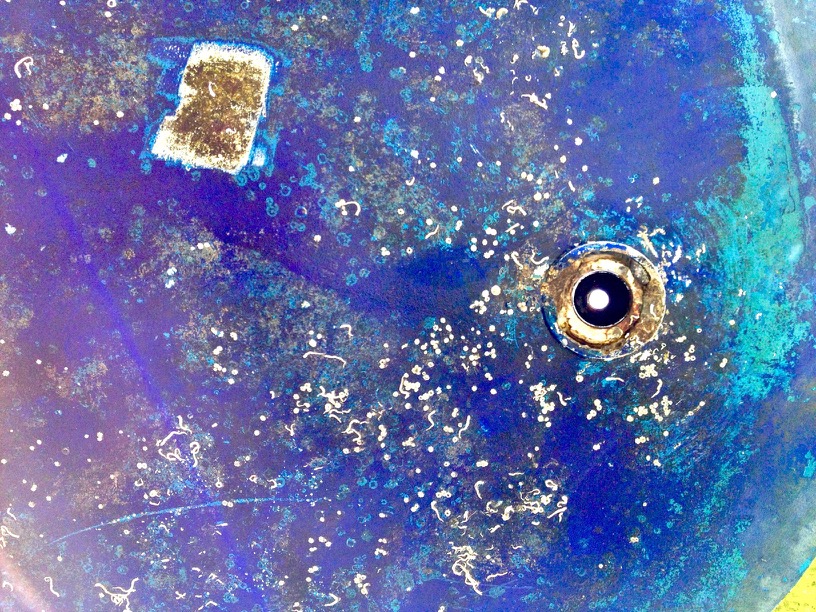
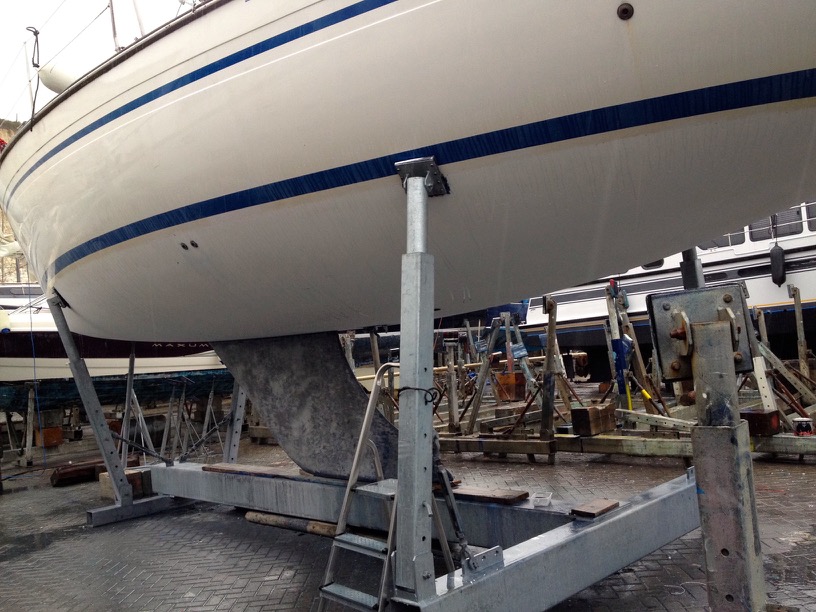
The cheap sander worked very well. Getting a pack of quality (Festool) sandpaper discs for it helped, as they're far more durable than the cheap ones that came with the sander. By the end of this, you will have a beautiful white gelcoat, with a few scratches in from old damage and slips of the scraper. Fill and fair them with gelcoat filler and don't forget to sand it again to key afterwards. You will also have gained considerable muscle mass in your shoulders and burnt a serious amount of calories. If you don't already own a sander, my advice is to get the most light-weight one you can find.
The keel also needs preparation. I've tried sanding it at first, but the cast wasn't smooth enough, so I switched to my dad's old and utterly indestructable 1970s Metabo drill with a abrasive nylon fibre filament wheel. An angle grinder with a suitable disc would probably work even better, but I didn't have one to hand. I then faired some areas of the keel with International Watertite (underwater epoxy that can stick to lead). Coppercoat won't stick to lead at all, so a two-part epoxy primer had to be applied on the entire keel. The AMC recommended product was International Interprotect, which was applied to the keel heeding their instructions precisely (wash down and clean with Acetone I believe, but do check first). Once cured, this again had to be sanded to key for the Coppercoating.
That concludes the preparation. Thanks for reading. In the next part, I'll cover the application, and since this happened in 2015, I can also tell you how well it performed since.