Coppercoat Part 2 - Application Day
Antifouling,
Boat,
Coppercoat,
Refit,
Sanding
In Part 1 of this series, I've prepared the hull for Coppercoating. It was almost ready to apply now, except for one more step - it needed to be cleaned. The instructions emphasize to not use any solvents here, only water, with the exception of the isopropyl alcohol thinner that is also used to thin the Coppercoat mixture. Even acetone is to be avoided. I'm not sure how true this is, as pure acetone should evaporate without a trace, although perhaps this refers to less pure products that could leave a residue.
If you're spending six weeks in a busy boatyard, you're bound to make some friends there amongst the other folk working on their boats. You'll share expertise, tea breaks and lend each other tools or supplies. One of my new boatyard friends offered to borrow me his pressure washer for the hull cleaning, so I gratefully accepted that and used it to clean the entire hull, including the topsides, from the top down. This ensured that no dirt could run down from the top onto the prepared bottom, and cleaned off all the remaining sanding dust, fingerprints and boatyard dirt, without adding any oily residues that could interfere with Coppercoat adhesion. Now the hull was truly ready.
At the previous Southampton boat show, I had the chance to sit down with Jayson Kenny of AMC and talk through my open questions before ordering enough Coppercoat for our hull (there's a calculator), of course at a boatshow discount. They've also supplied the correct paint rollers and recommended International Interprotect primer for the keel. The company has generally been very helpful - I forgot to ask one question on the boatshow, and a quick phone call put me through with someone who really knew the product and answered my question thoroughly.
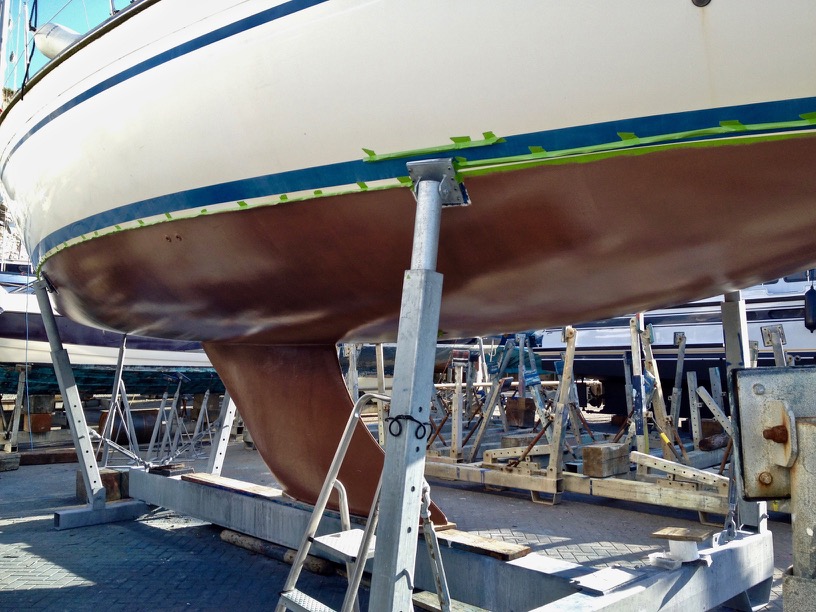
To apply Coppercoat, you need a spell of warm, dry weather. It won't cure below 8°C or in high humidity, and if any rain or dew falls on it before the surface is cured (about 48 hours) it can be washed right off or blister later. You can either pay for your boat to be in a tent, or carefully check the weather reports, hope for some good luck and take precautions against dew (more on that later). I had exceptionally good luck with the weather during most of my time in the boatyard, with an unusually warm and dry few weeks in October.

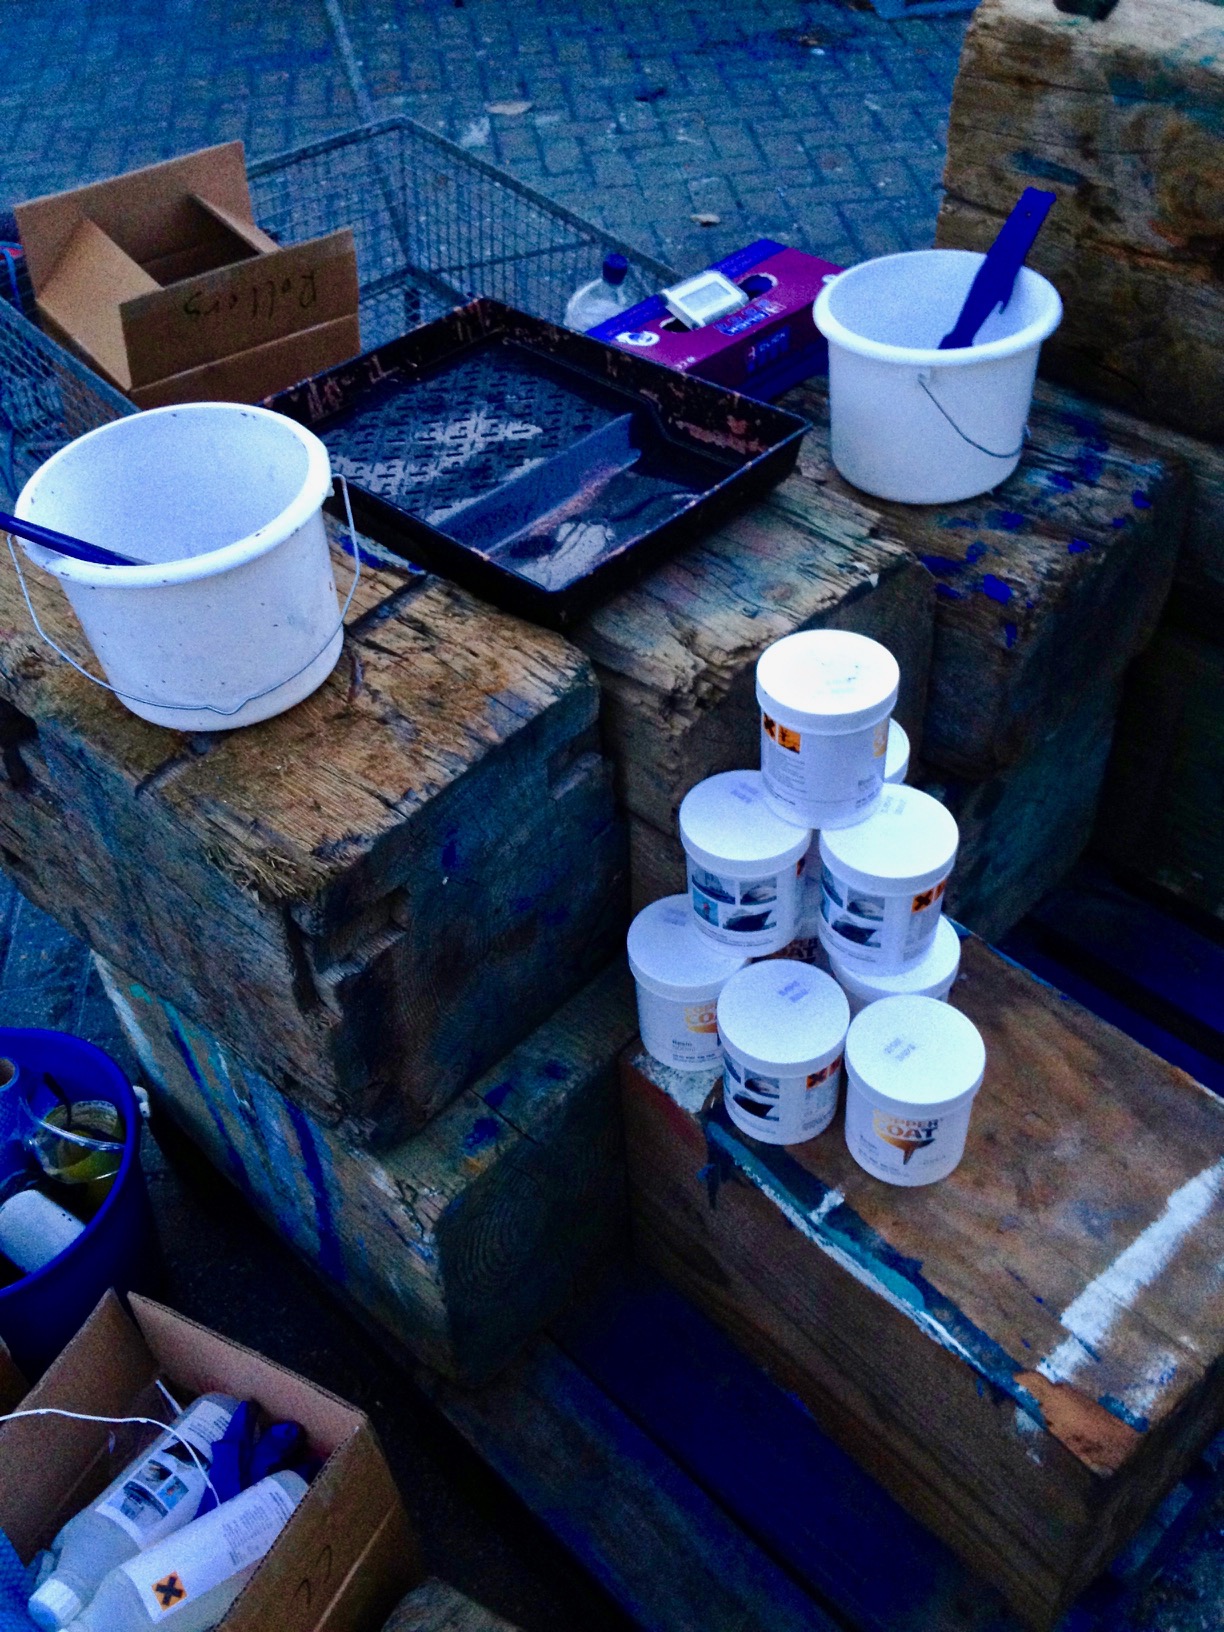
Coppercoat is a two-part epoxy mixture into which you stir a very fine copper powder. You have to apply a minimum of four coats on top of each other while still tacky, before it has fully cured. That doesn't leave much time for breaks during application. You can do one half of the boat at a time though. It's supplied in pre-packs of 500ml resin, 500ml hardener and about 432g of copper powder each. If you're mixing a whole pack each, it's very simple to do - pour the resin and hardener together with a bit of thinner. Mix them thoroughly before stirring in the copper powder. Be careful, the fine powder will fly away in the slightest breeze. The copper is very heavy and will settle to the bottom of the mixing bowl, so before you pour it into your paint tray, stir thoroughly each time. It'll also settle in the paint tray, so do not pour too much mixture into the tray at a time, rather go back and get more often, re-stirring the mixture each time.
The amount of thinner needed varies with temperature and I had to adjust this during application, as the hull warmed up in the sun. After the first coat, you'll know if you need more or less. Usually by the time you've finished applying the first coat to the hull the other end should be slightly darkened and tacky instead of wet, which means it's ready to overcoat. If the paint roller lifts off the first coat, wait for it to cure a bit more.
Don't start applying too early in the morning, let any moisture or dew evaporate and make sure the hull is really dry and clean before you start. It's helpful to have someone that can mix, stir and dispense mixture to your paint tray. If you have an abundance of manpower, you can even have multiple people rolling the stuff on, although I did okay on my own. As it turned out, I had enough material for five coats, and after applying them to one side of hull and keel it was only 2pm, so I had a quick sandwich and did the other side too, thus coating the entire 40 footer in one day on my own.
The coats stayed tacky and ready for overcoating for several hours, which meant there was no hurry with applying additional coats, but pot life was critical and about 50 minutes long in October weather, so the race was on with each new pot mixed, but there was time for short breaks between them (and each pot worked out to be about one coat for one half of the boat). It's possible to mix half pots, but without a helper to do the mixing, that would've meant spending more time on measuring and weighing things, so I rather hurried with the application instead.
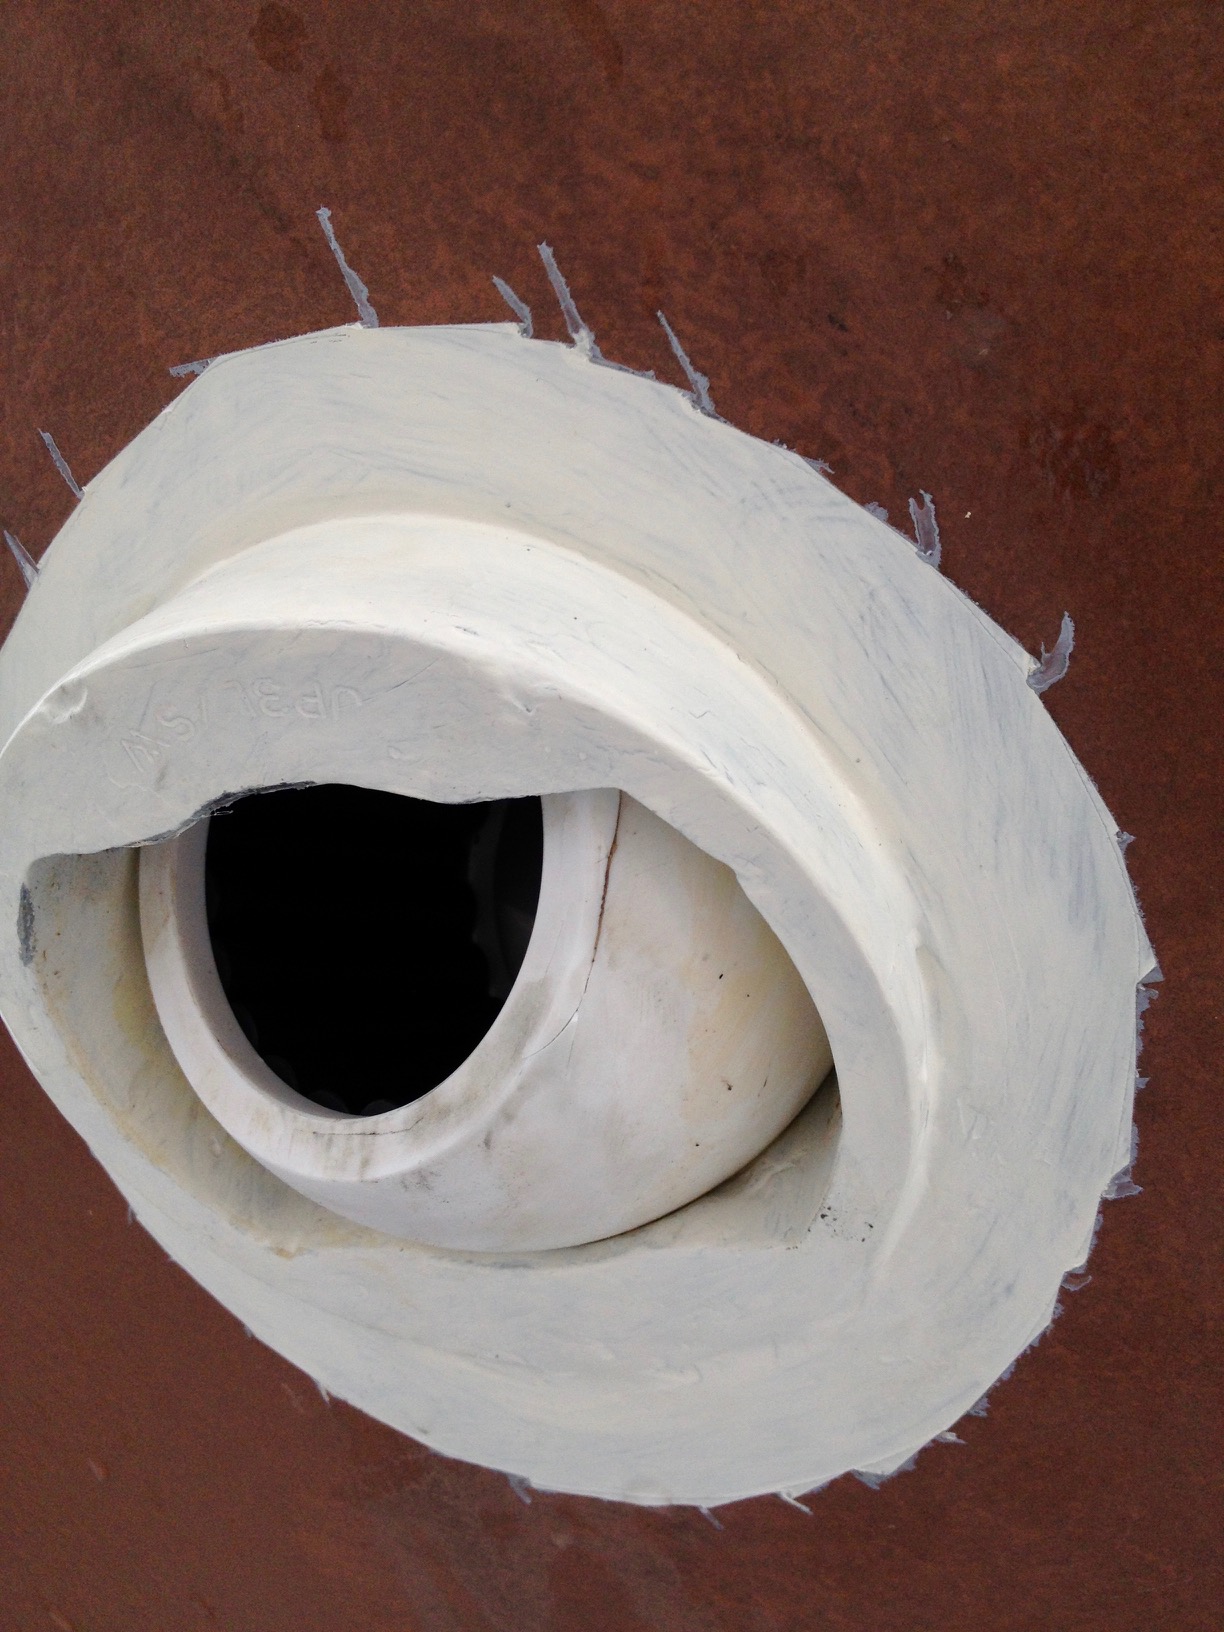
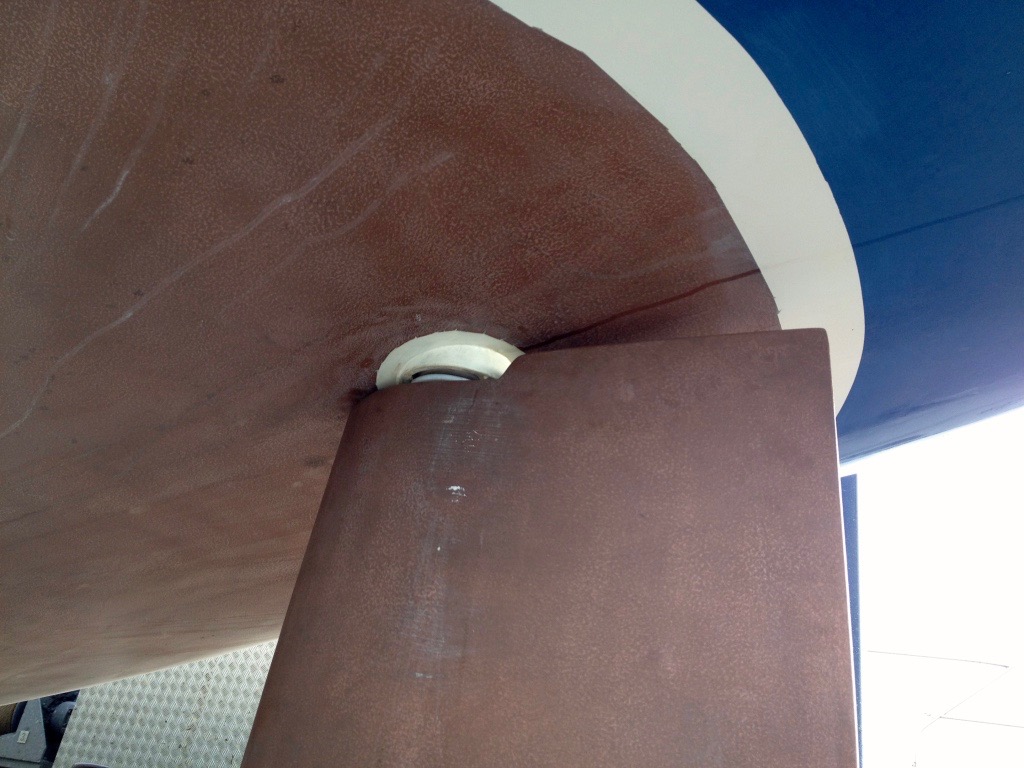
It's easy to waste a lot of time around the skin fittings, but in the end I just rollered around them, then grabbed a small paintbrush, dunked it in the paint tray and did a line around each one. Same for the keel joint where the roller couldn't get to. The instructions tell you not to use a brush, but it worked just fine on those small areas. Having plastic skin-fittings, I had also sanded inside them and applied mixture all the way up to the ball valves.
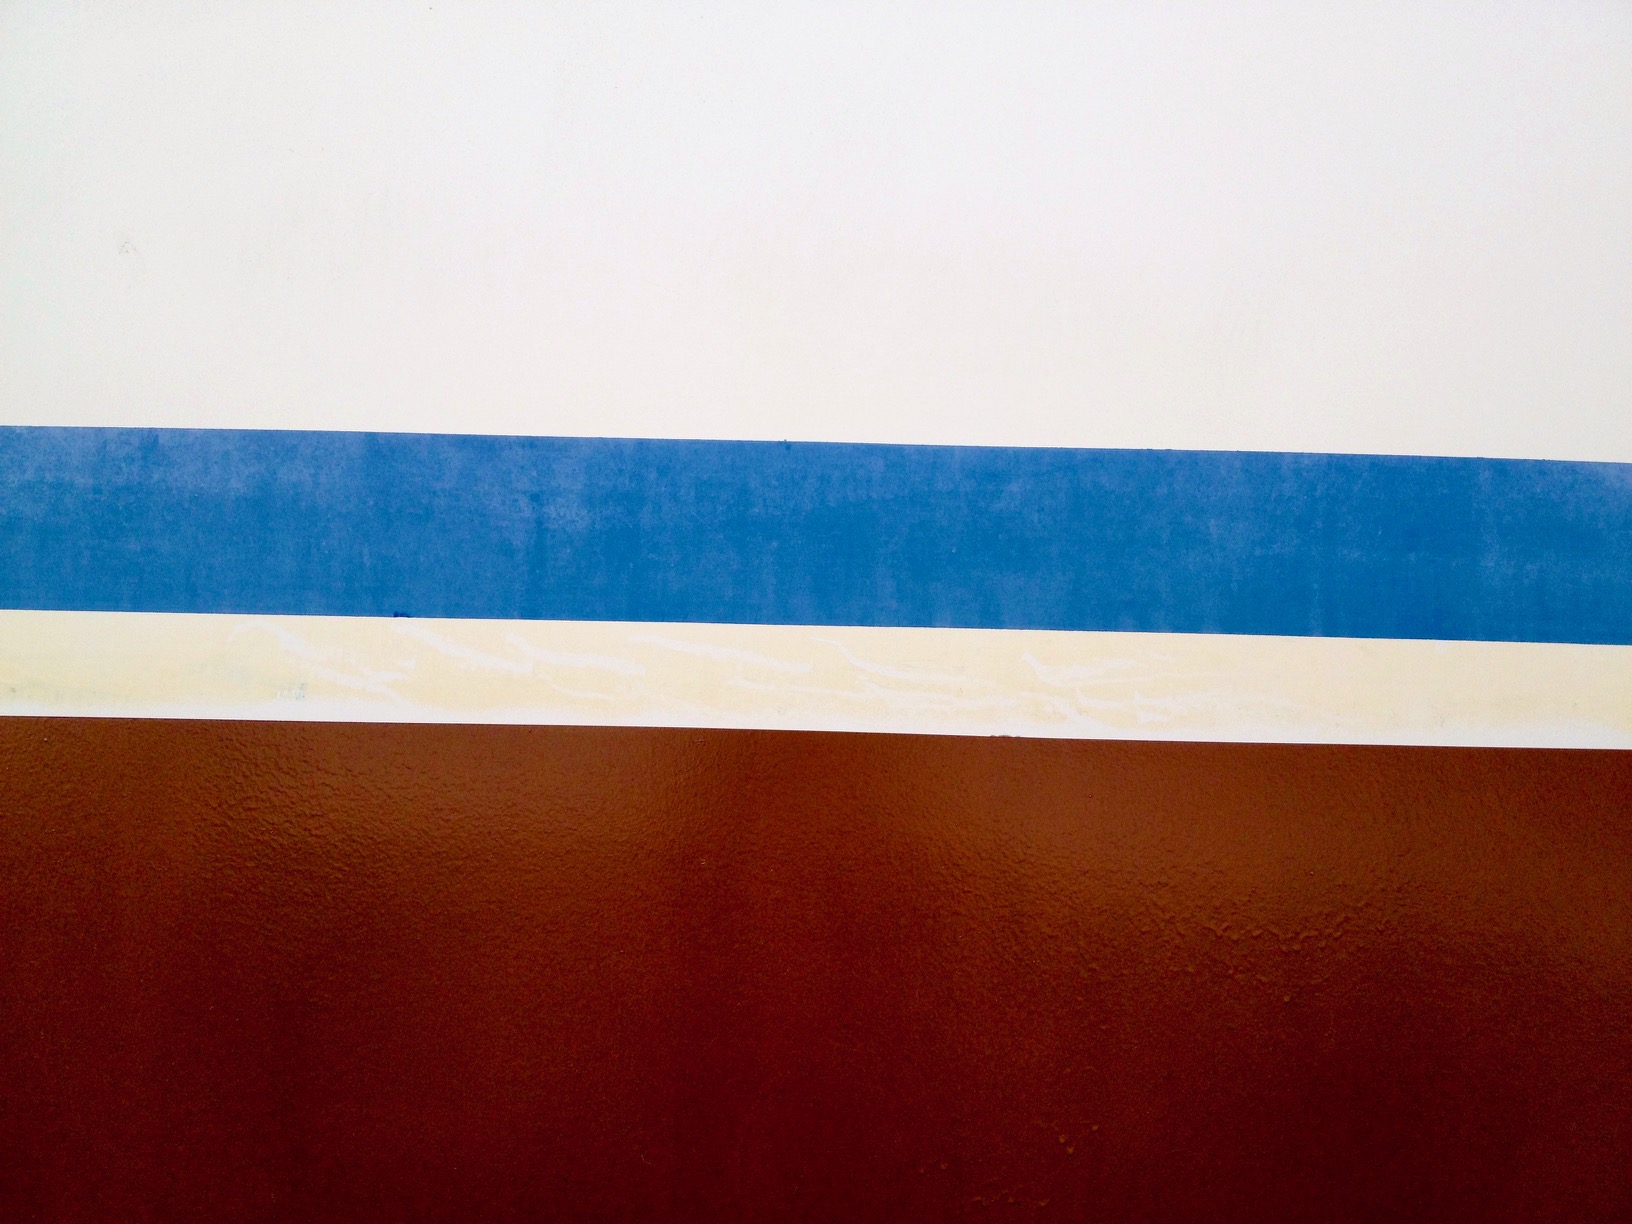
Finally, I've pulled down the masking tape top edge and taped it down, so it formed a drip guard - any water running down the topsides would now drip off the masking tape instead of running into the fresh epoxy. This saved me from morning dew the next day.
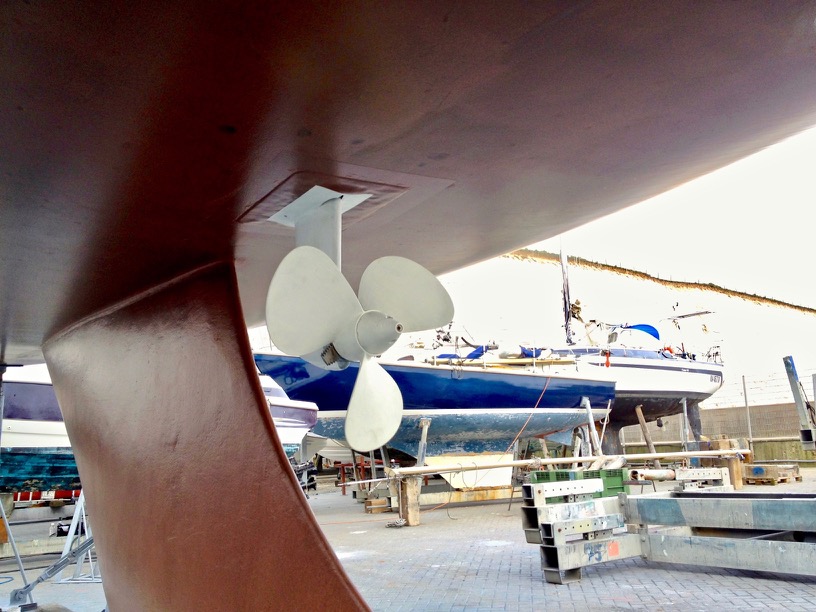
Coppercoat is a water-based epoxy, which means you can just wash your tools out with water while it's not yet cured, but that also means any water on your fresh coating will undo your hard work or cause problems later. Since I had the rudder out, I had to coat it one side at a time, and the day I did the second side, a slight drizzle set in. I scrambled to protect it with a makeshift shelter, but it got a bit wet on that side, and you'll see the consequences of that in part 3, where we'll look at how well it all worked out a few years later.
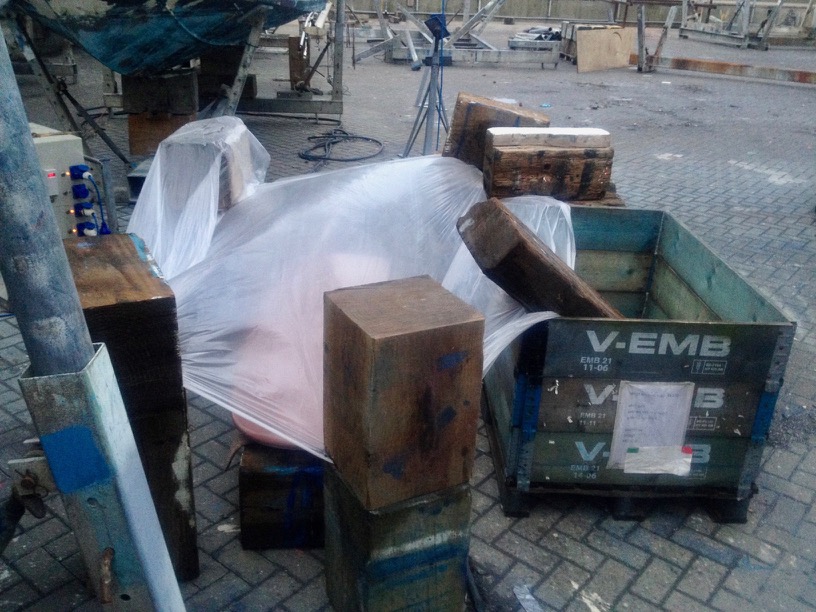
Finally I had to do the patches where the cradle legs were holding the boat. You can ask the yard crew to put the pads somewhere they won't be in the way, but often this is simply not possible. To speed up the cure time on these small areas, I copied a trick from a professional applicator that was Coppercoating another boat across the yard from mine. He was using an old hairdryer on the cradle patches. I didn't have a hairdryer handy, but the hot air gun on the lowest setting did a fine job of hurrying up the time between coats and the final curing as well. However, even with the hairdryer trick, the curing times are too long for the usual "hold it in the slings over lunch" kind of job, so you'll have to make other arrangements with your boatyard, such as holding over a weekend, or moving the cradle legs slightly after the original coat is fully hardened.
Depending on temperature, humidity and convection, the coppercoat should be waterproof within 48 hours and be able to take the slings after 3 days. Don't just lift in as it is though! This is quite possibly the most common mistake from DIY appliers that then proclaim that Coppercoat did not work at all. The copper particles have been mixed into the resin, and due to surface tension are entirely surrounded by it. You need to expose them for the anti-fouling effect to work. The instructions mention Scotchbrite pads here, but with the coating being so thick, I found it to be faster, easier and more effective to go over the cured surface with the random orbital sander and a medium grit disc, say 240 or 320 grit. Don't linger in any one place, just quickly go over the entire hull. This should be quick, and you will now see a slight glitter from the shiny copper particles and the reflective gloss of the smooth epoxy is gone.

After launch it will take several months for the surface to gradually turn dark green as the copper reacts. On top of that, all you get is a layer of slime and zero hard fouling. The slime scrubs off easily in the water or pressure-washes off when hauled out. My only mistake was keeping the original waterline, so when the boat was laden with cruising gear, tools, spare parts, anchor gear, folding bicycles, etc., the original waterline was slightly submerged, which lead to rapid fouling growth on the untreated white gelcoat. So this February, we did haul out again and apply 15cm more Coppercoat to raise waterline significantly, which also hides the various scum and oily residues we've encountered during our cruising.