Coppercoat Part 3 - Results
Antifouling,
Boat,
Coppercoat,
Refit
After preparing the hull and applying Coppercoat in the first two parts of this series, we're finally looking at the outcome.
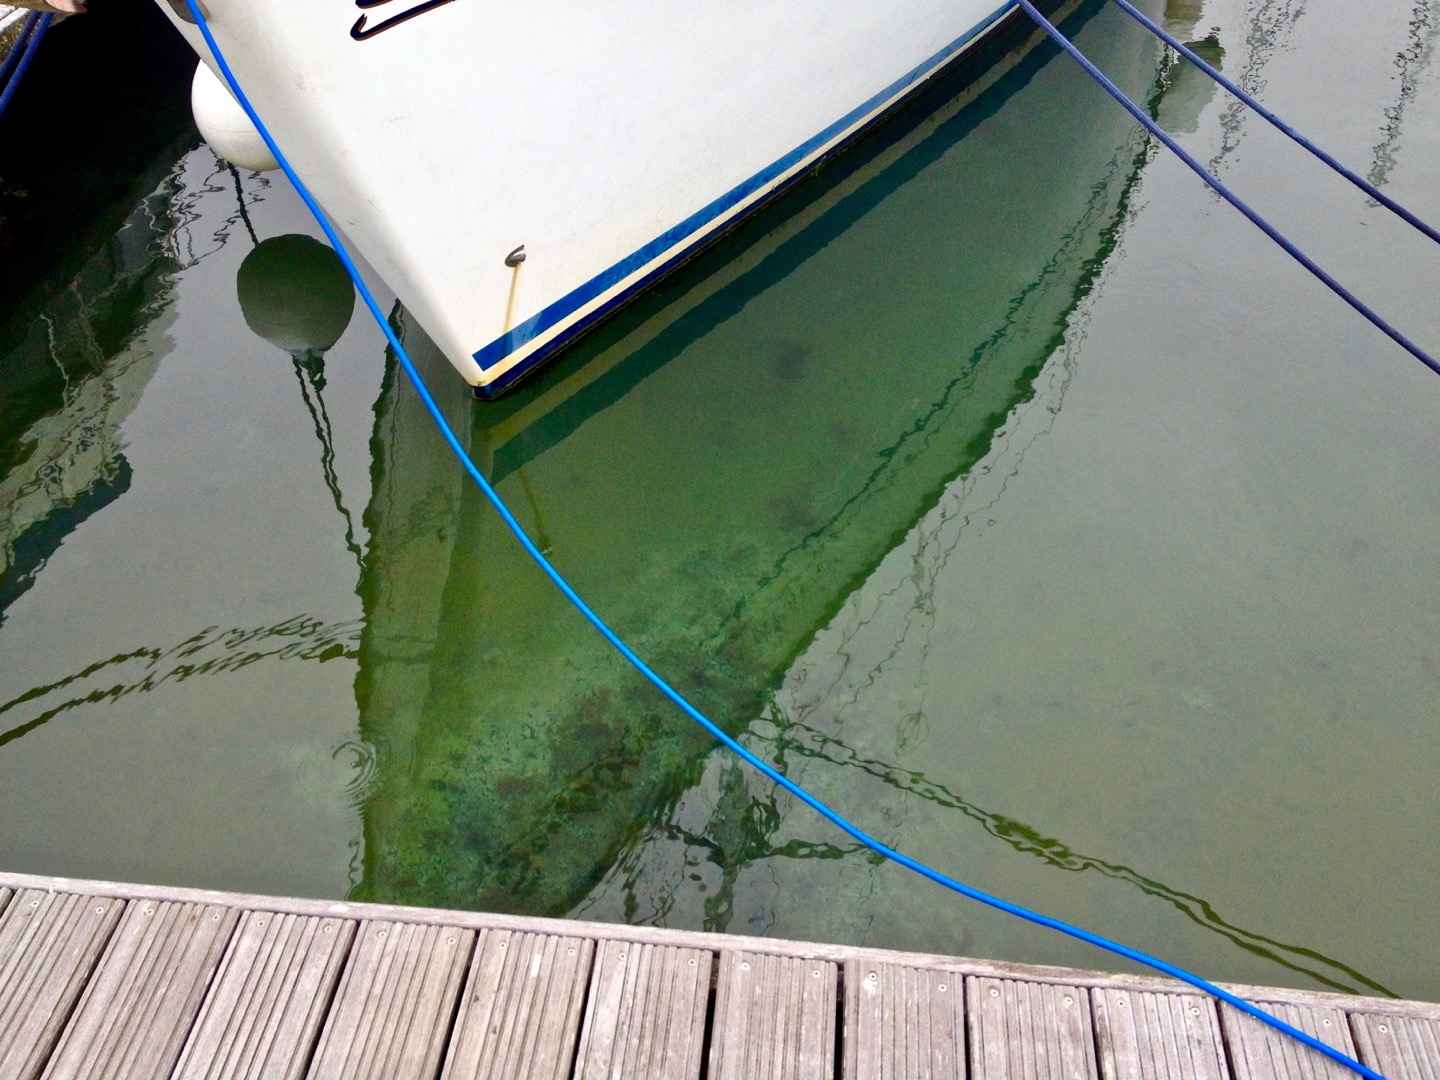
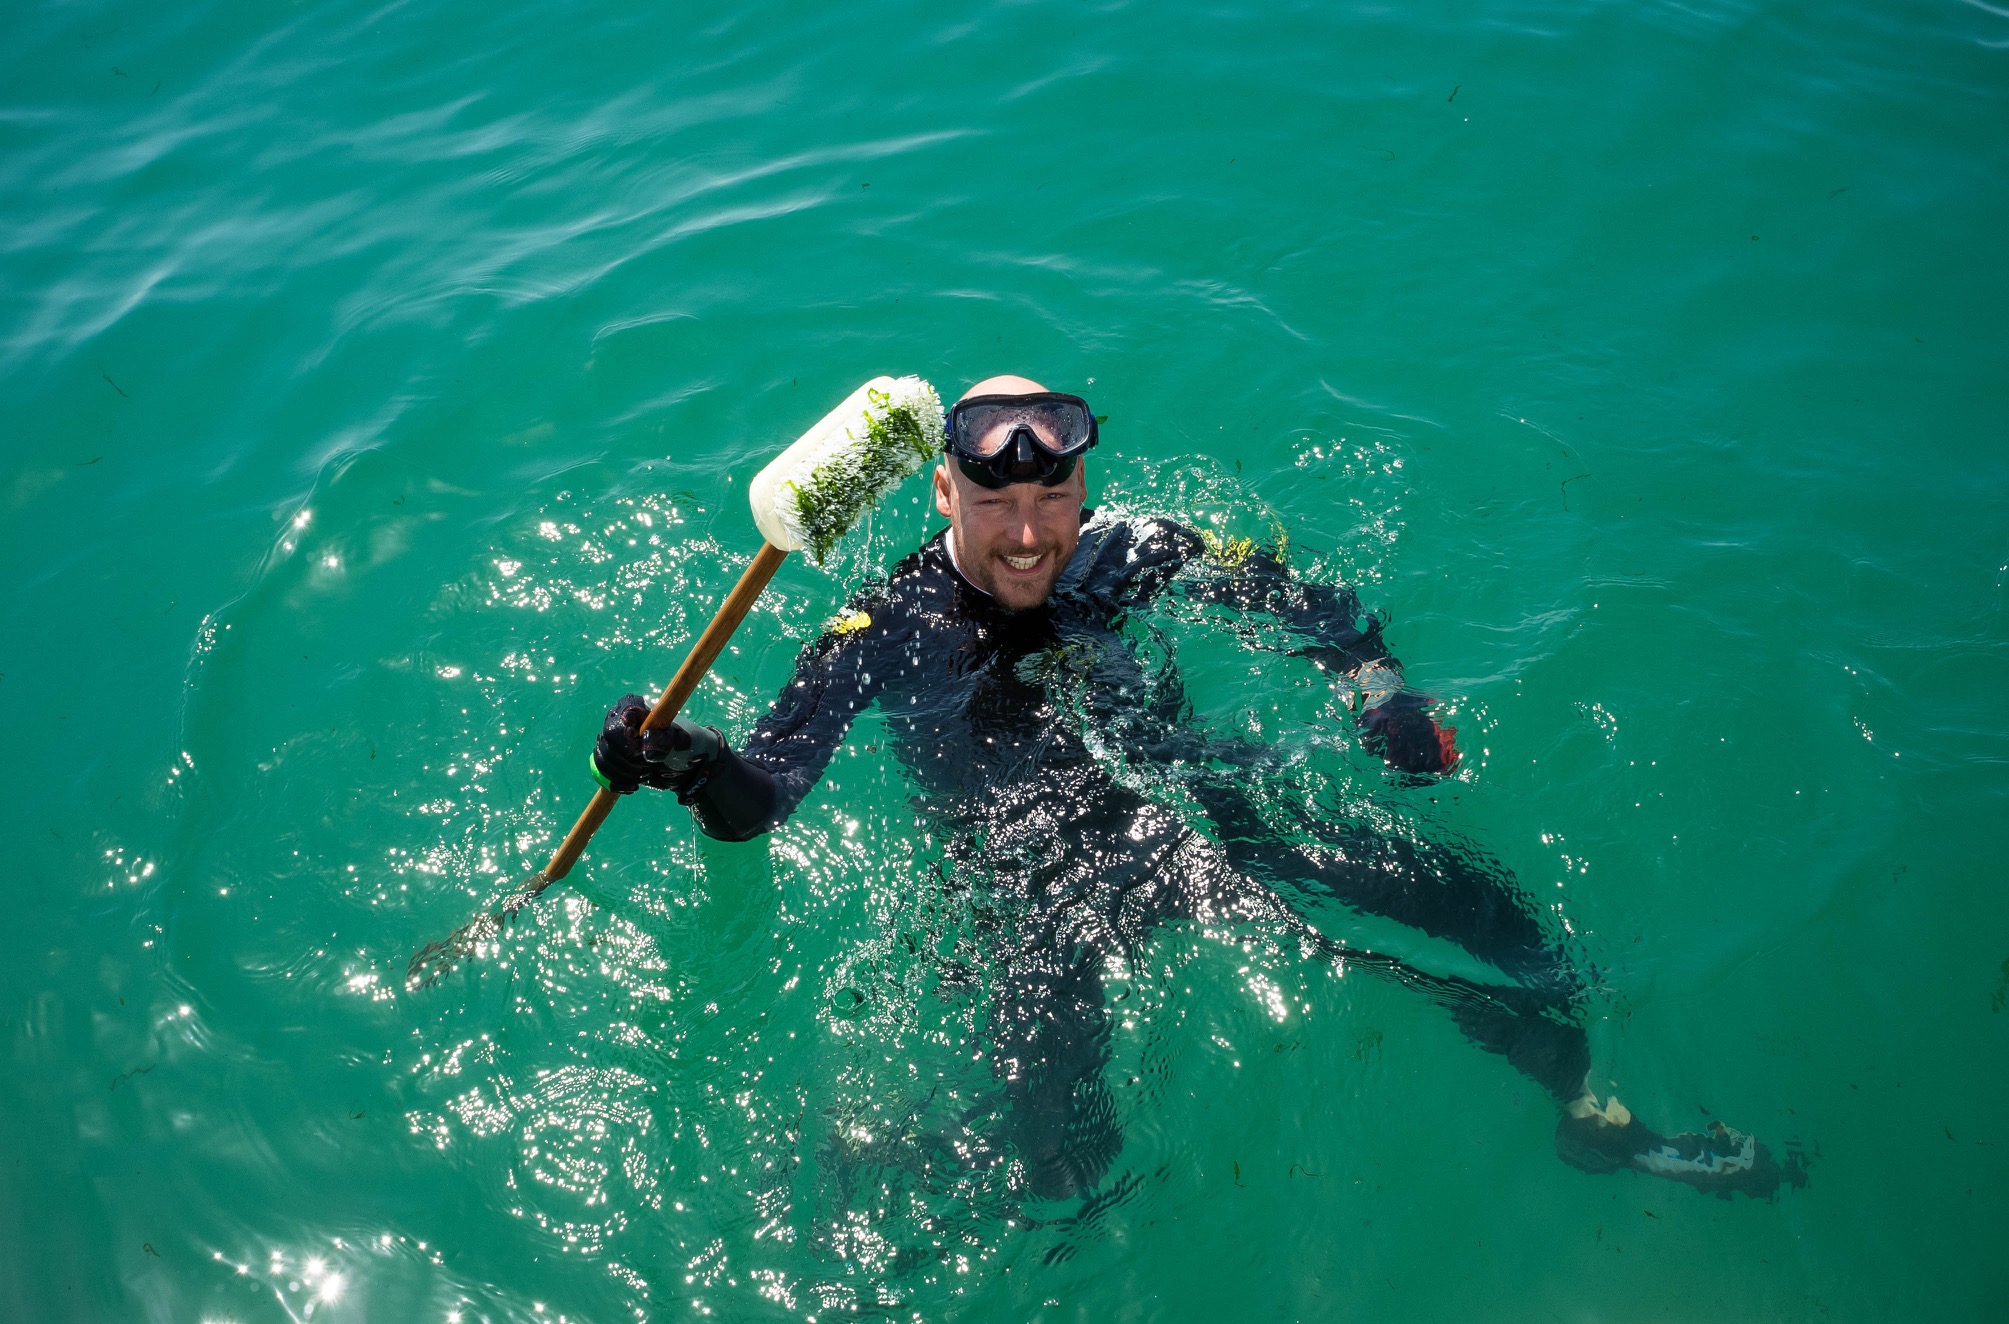
The first proper look was after 11 months in the water, much of which were spent stationary at Brighton marina. Unfortunately the marina was insufficiently dredged during this time and so on low tides our keel and the tip of the rudder were stuck in the soft mud up to 0.7m deep. One warm and calm August day, I anchored off Brighton beach during slack tide. Equipped with wetsuit, diving mask and underwater camera, I jumped into the water to inspect the bottom in lieu of hauling out (unless something dramatic was to be found). The results were promising, but see for yourself. The video below also includes references to the Velox Plus antifouling I've used on the metal parts, but I'll cover that in a future post in more detail.
One of the main reasons I chose Coppercoat was because I never liked the idea of annual haulouts and quite enjoy swimming and freediving, so inspecting the underwater parts of the boat and scrubbing in the water is far preferable. The cost for lifting out a 40 footer is considerable (€450 here in Portugal, twice that in the UK), and saving that money, plus the cost of conventional antifouling paint every year would soon make the Coppercoat pay for itself. And as liveaboards we gladly avoid the discomforts of staying aboard on the hard.
As you can see in the video above, there was only the promised layer of slime on most of the hull. This was more intense than in subsequent inspections, most likely due to the complete lack of movement for 8 months while the boat was in the water during further refit work. The slime however scrubbed off very easily with the touch of a gloved hand. I used a scrubbing brush and made good progress.
The exception was the bottom of the keel and tip of the rudder, which were stuck in the mud. The Coppercoat could not activate properly in those areas (perhaps due to lack of oxygen in the mud) and did not perform very well. There were tubeworms and small barnacles in this area along with some weed growth on the rudder, so for mud berths I would advise against Coppercoating.
After about 45 minutes of scrubbing I had done much of the work and started to loose energy, so left it at that. The waterline is also easily scrubbed from the pontoon. The keel and rudder below the "mudline" needed more serious scraping than the brush could muster. Scrubbing during slack tide was actually a bad idea, as the slime coming off soon reduced visibility considerably. Scrubbing in a gentle flow works better, as the debris is carried away.
We scrubbed again in France, about 10 months after the last video, and 21 months after the Coppercoat was applied. Unfortunately I have no underwater footage or photos of that time. The boat was now actively being cruised and the slime layer was considerably thinner and flatter this time, likely due to the boat actually moving and the stuff not being able to stick very well to the Coppercoat, so much of it came off during sailing (and slamming into waves while leaving Fécamp). What remained once again came off easily with a brush.
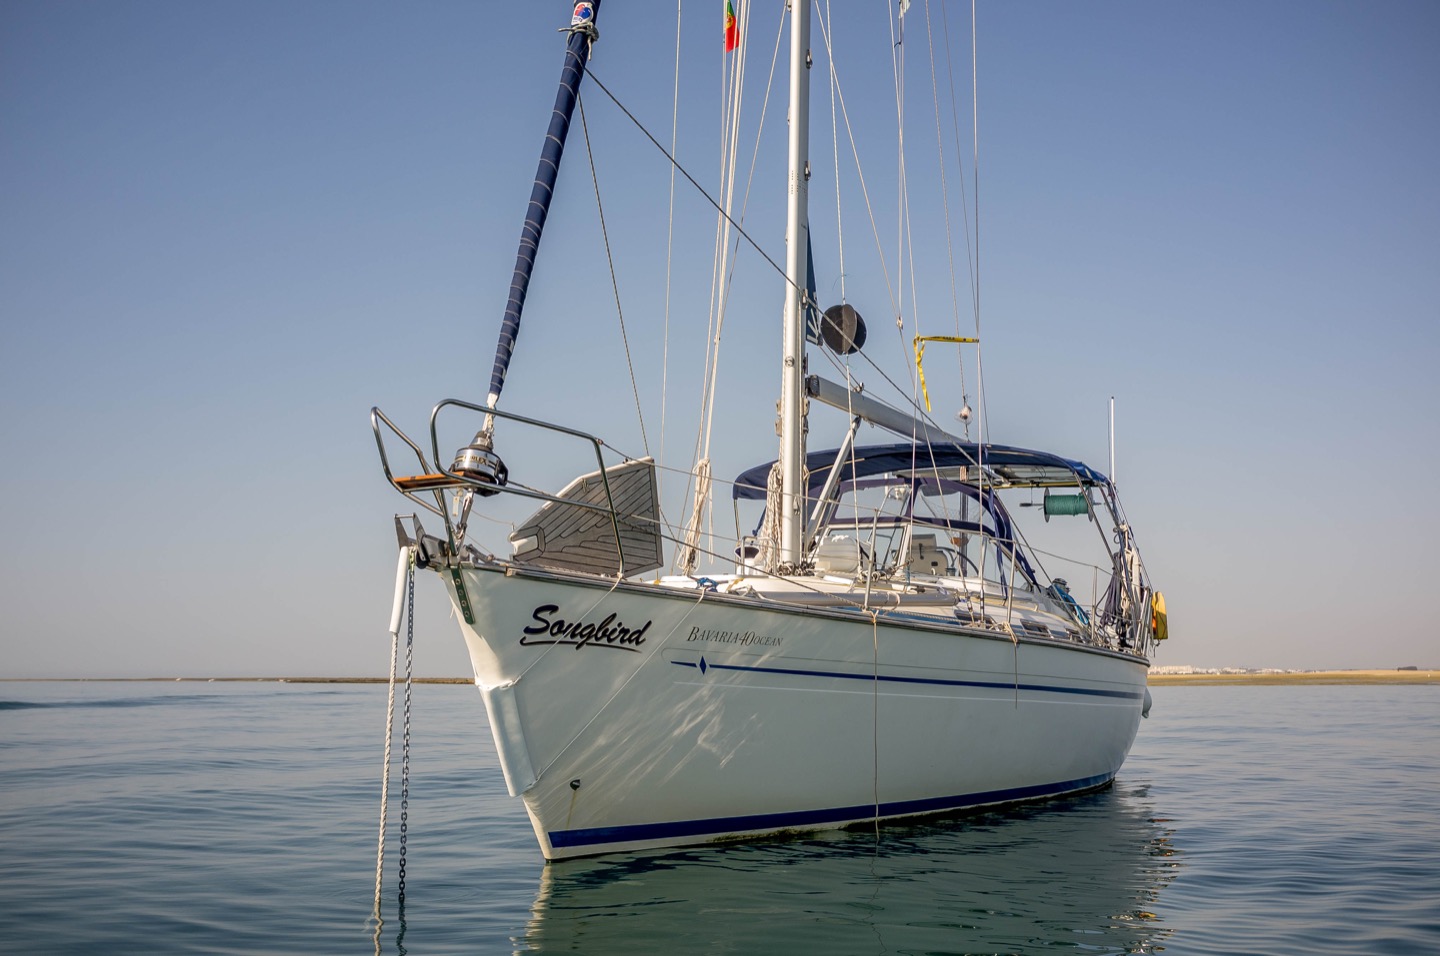
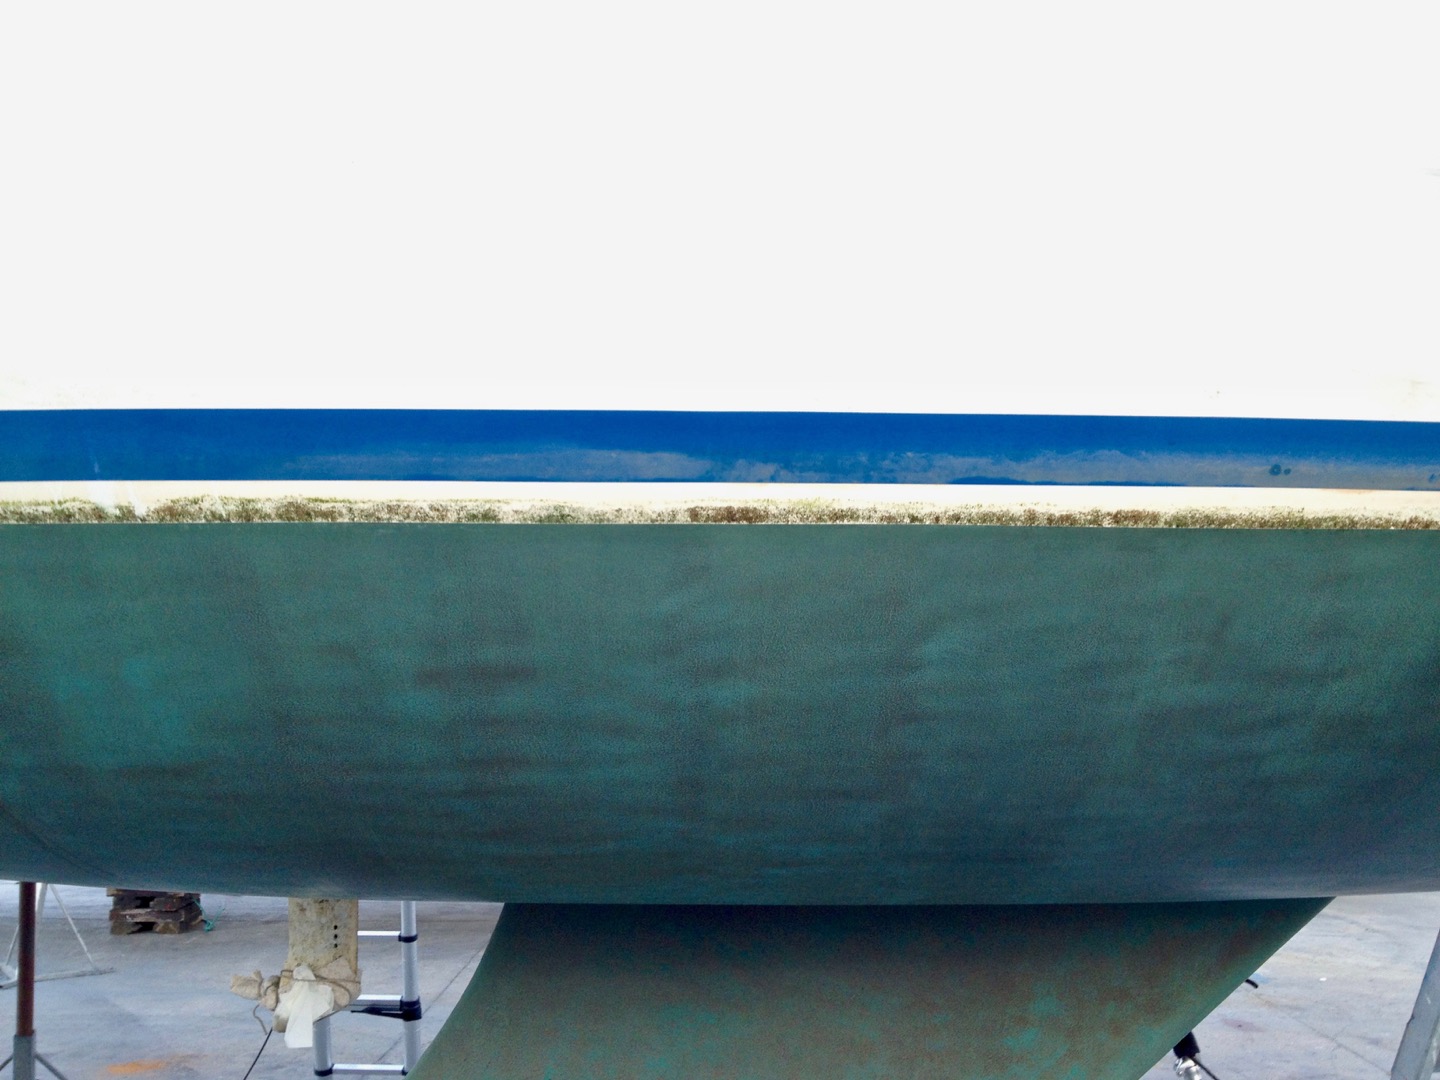
However, with the boat now being fully laden with cruising gear, the original waterline was slightly submerged, leading to rapid growth of a green "beard" of algae and wiry weed on the untreated white gelcoat just above the Coppercoat. This lead to us planning a haulout for the following winter, to apply an additional 15cm of Coppercoat and raise the waterline considerably higher. This should also remove the issues of unsightly scum and black oily stains we'd picked up in various harbours and anchorages on the way.
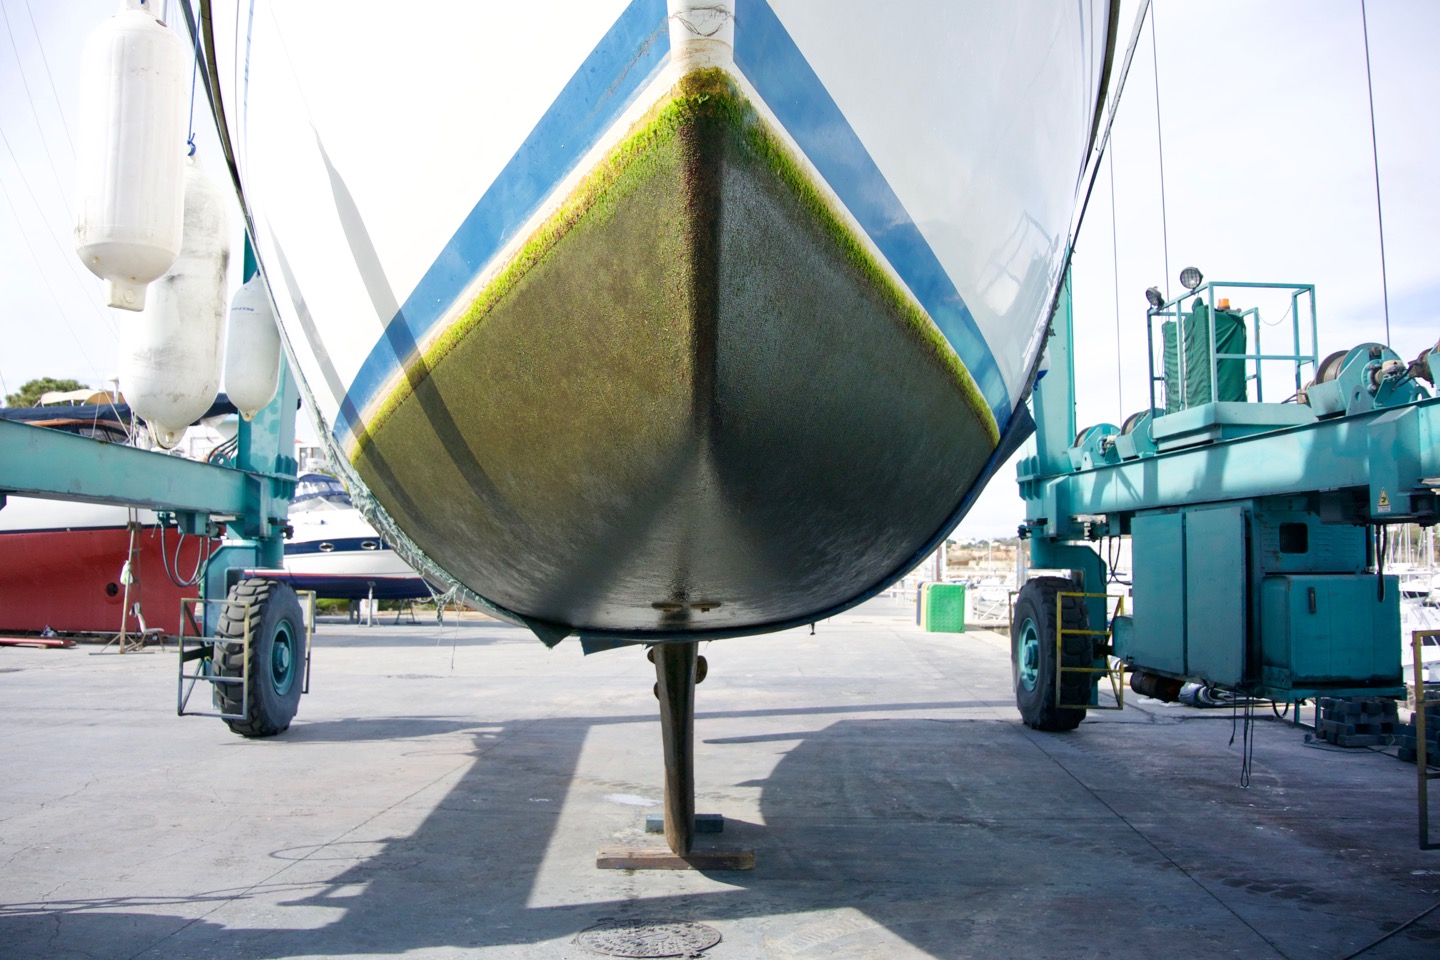
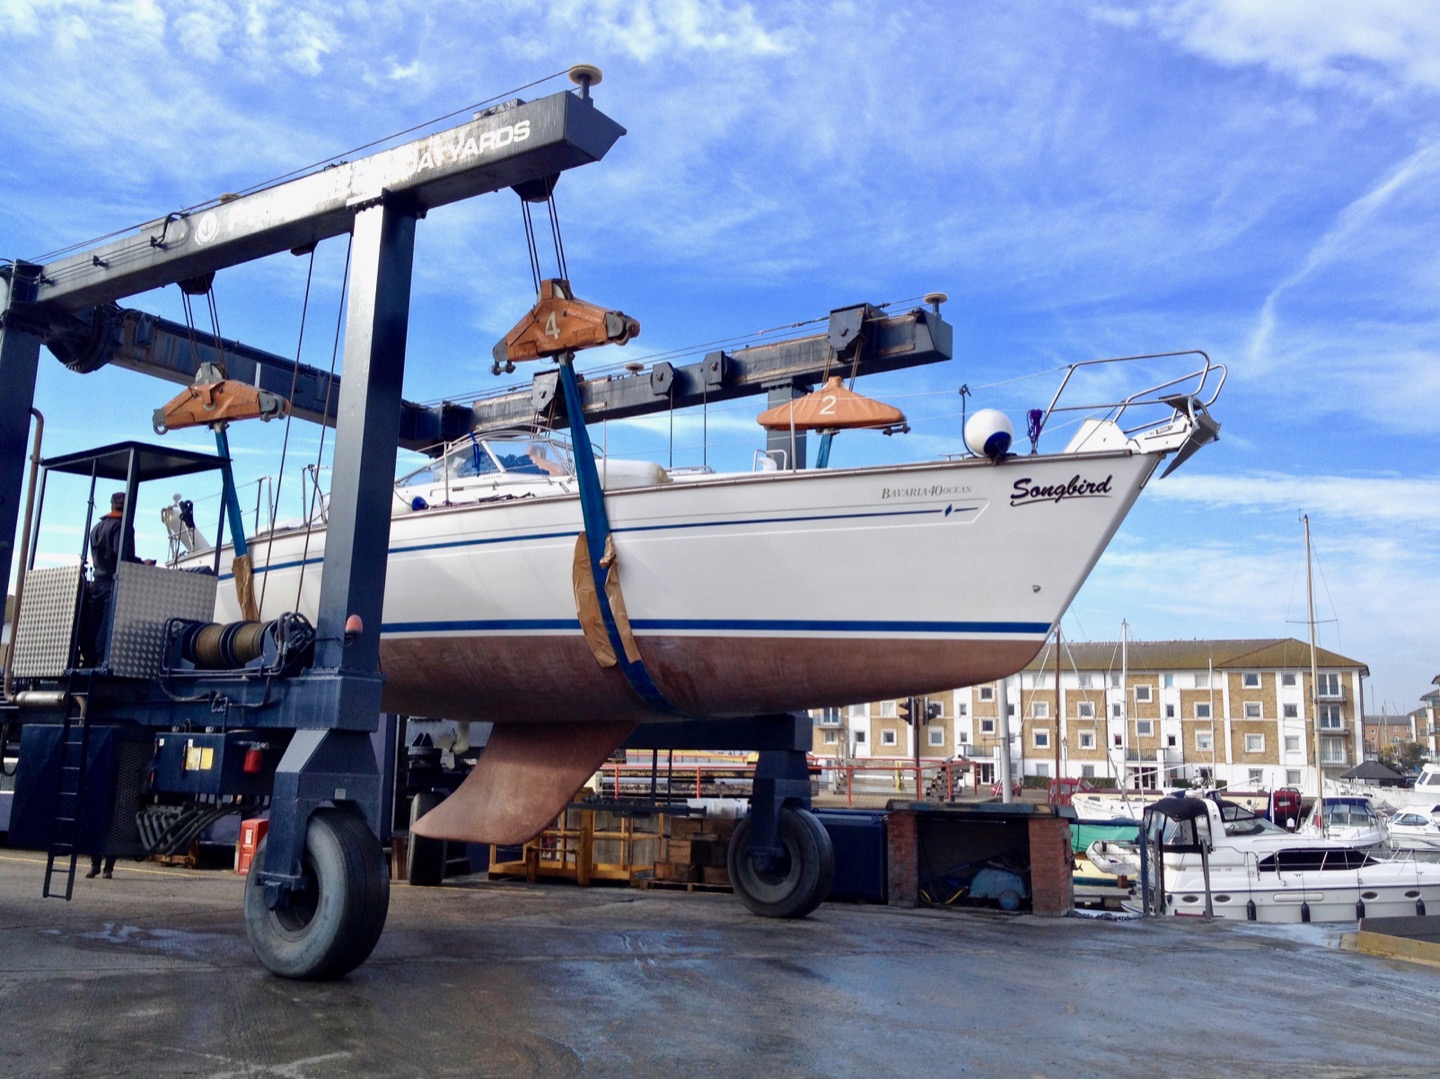
So we finally decided to haul out in Portugal this February, primarily to apply additional Coppercoat to raise the waterline, as we were very pleased with the performance so far. After 28 months in the water, the saildrive was also due for a servicing and the metal antifouling we'd used on propeller, saildrive and some other bits was at the end of its useful lifespan.
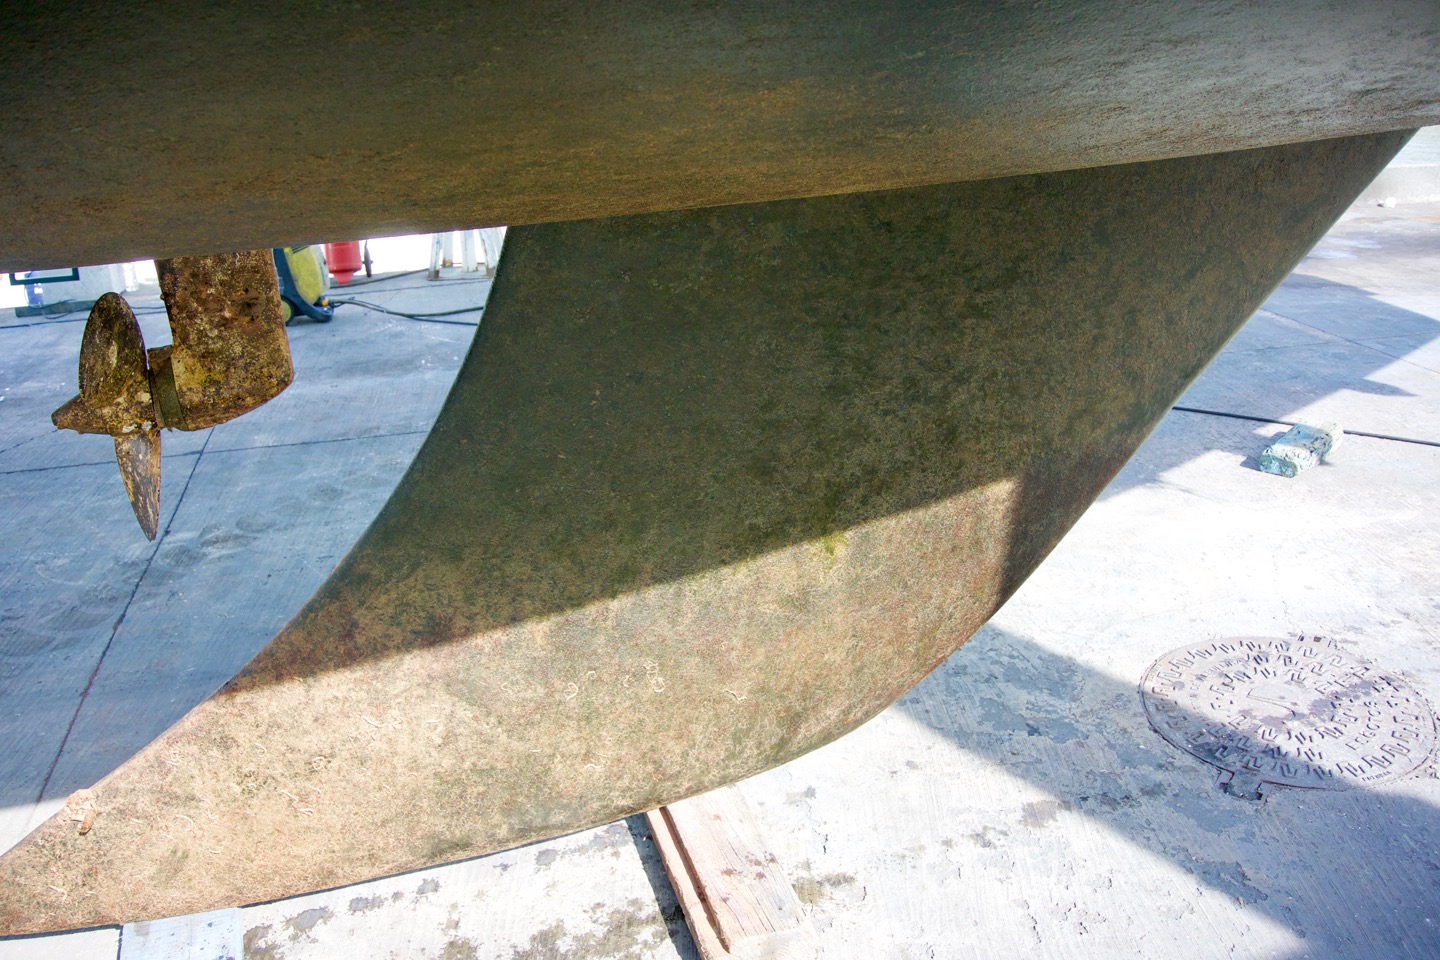
When the boat came out of the water, everything was as expected. The Coppercoat had performed very well, with the familiar 1-2mm thick layer of slime that the pressure washer removed easily. The green growth on the uncoated waterline above was tougher, and the keel area below the mudline still had the hard fouling from Brighton on it, as I'd never gotten around to diving down there with a putty knife and scraping it off while we were afloat.
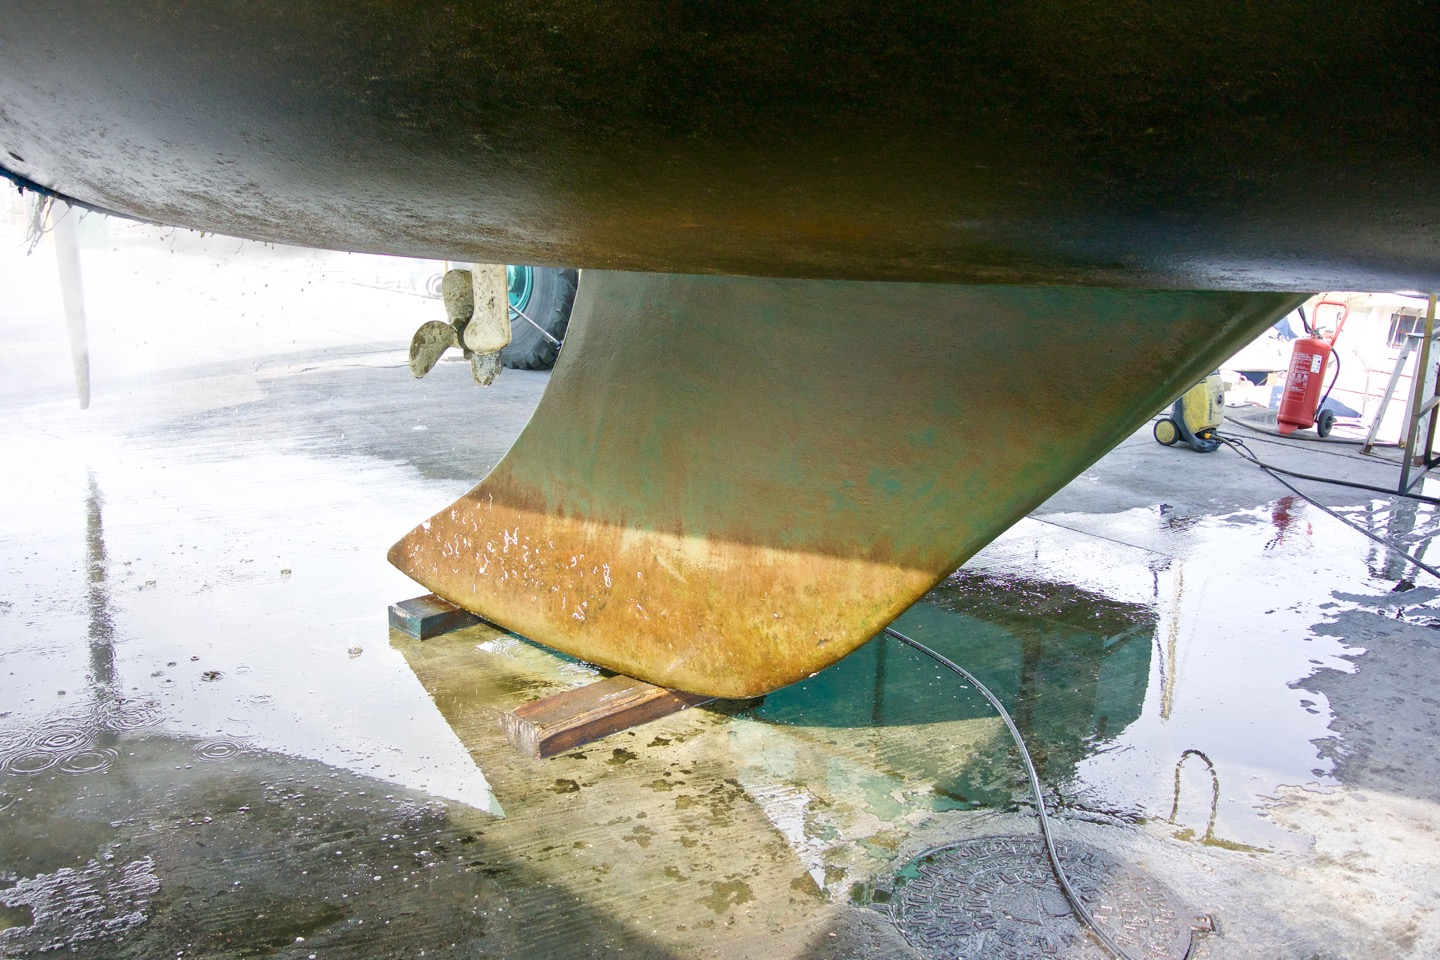
The pressure-washer removed the slime easily, but left us with the hard fouling on the bottom of the keel. After drying, this popped off readily with a putty knife, and much to my delight took none of the Coppercoat or primer with it. Adhesion of the Coppercoat and Interprotect primer to the lead keel were excellent. We then abraded the differently coloured Coppercoat in the area below the mudline with Scotchbrite pads to expose fresh copper in this area. This should cause the Coppercoat to activate properly, now that we were in a place with deep enough water for it.
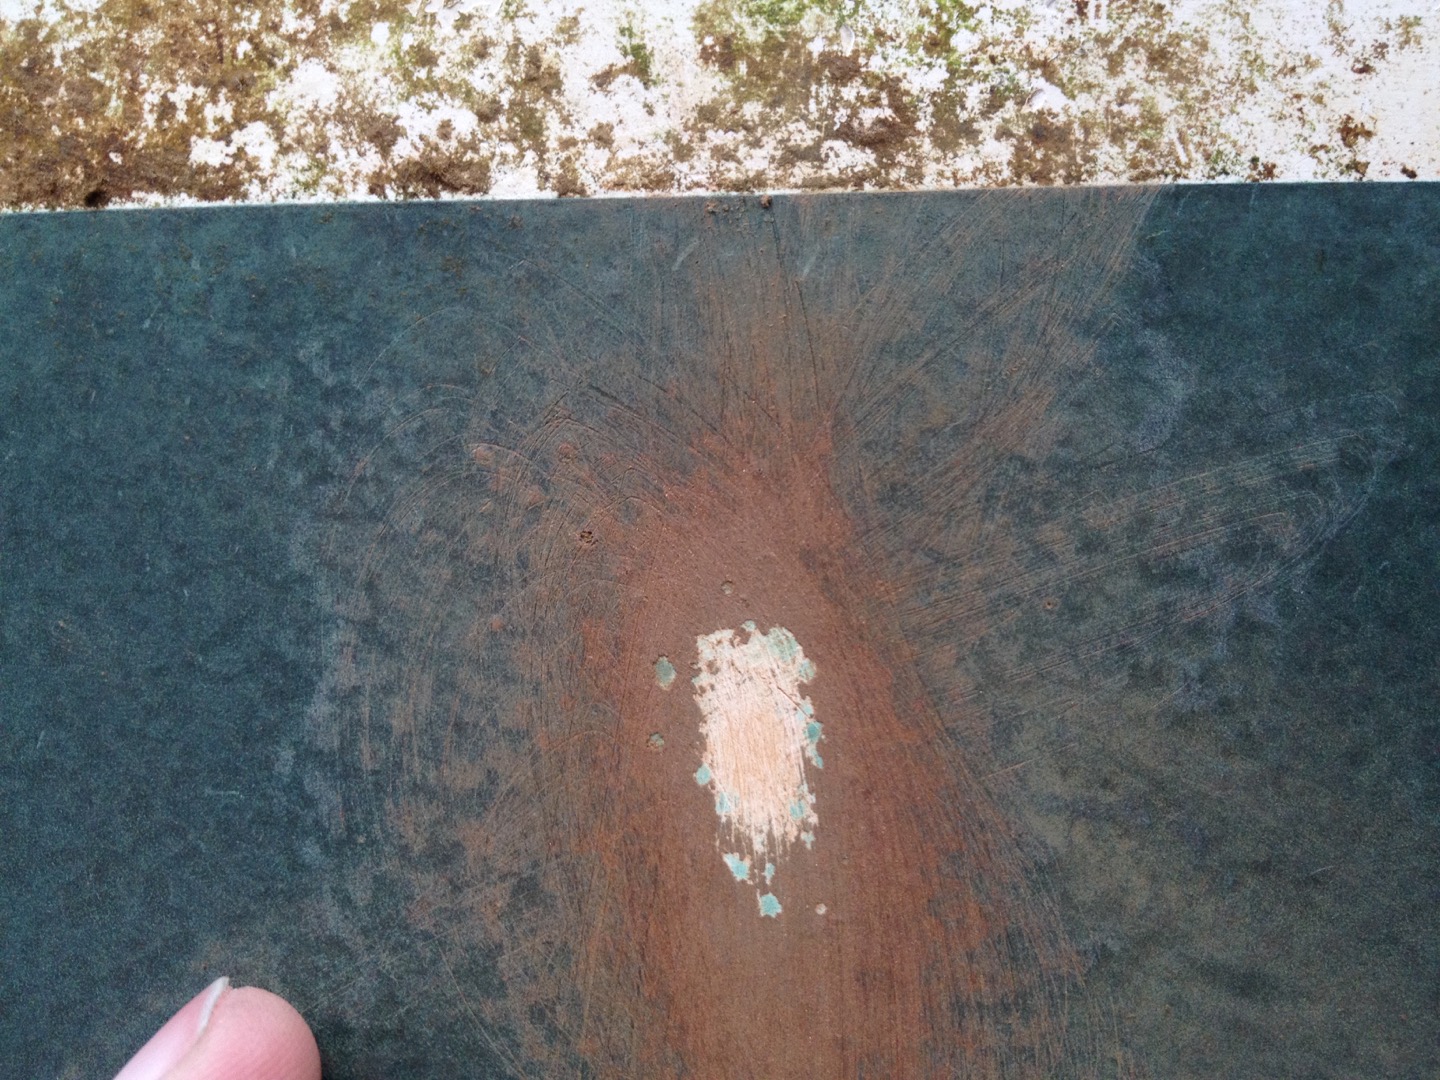
There were two small areas with a few blisters. Upon sanding them out, it was clear they were blisters in the Coppercoat itself, the gelcoat underneath was fine. This was most likely due to either residual moisture or other substances left on the hull during application. Given the location, greasy fingerprints after cleaning would be a probable cause. These were small and did not affect the overall performance, but as we were mixing and applying Coppercoat anyways, we sanded them to prepare for overcoating.
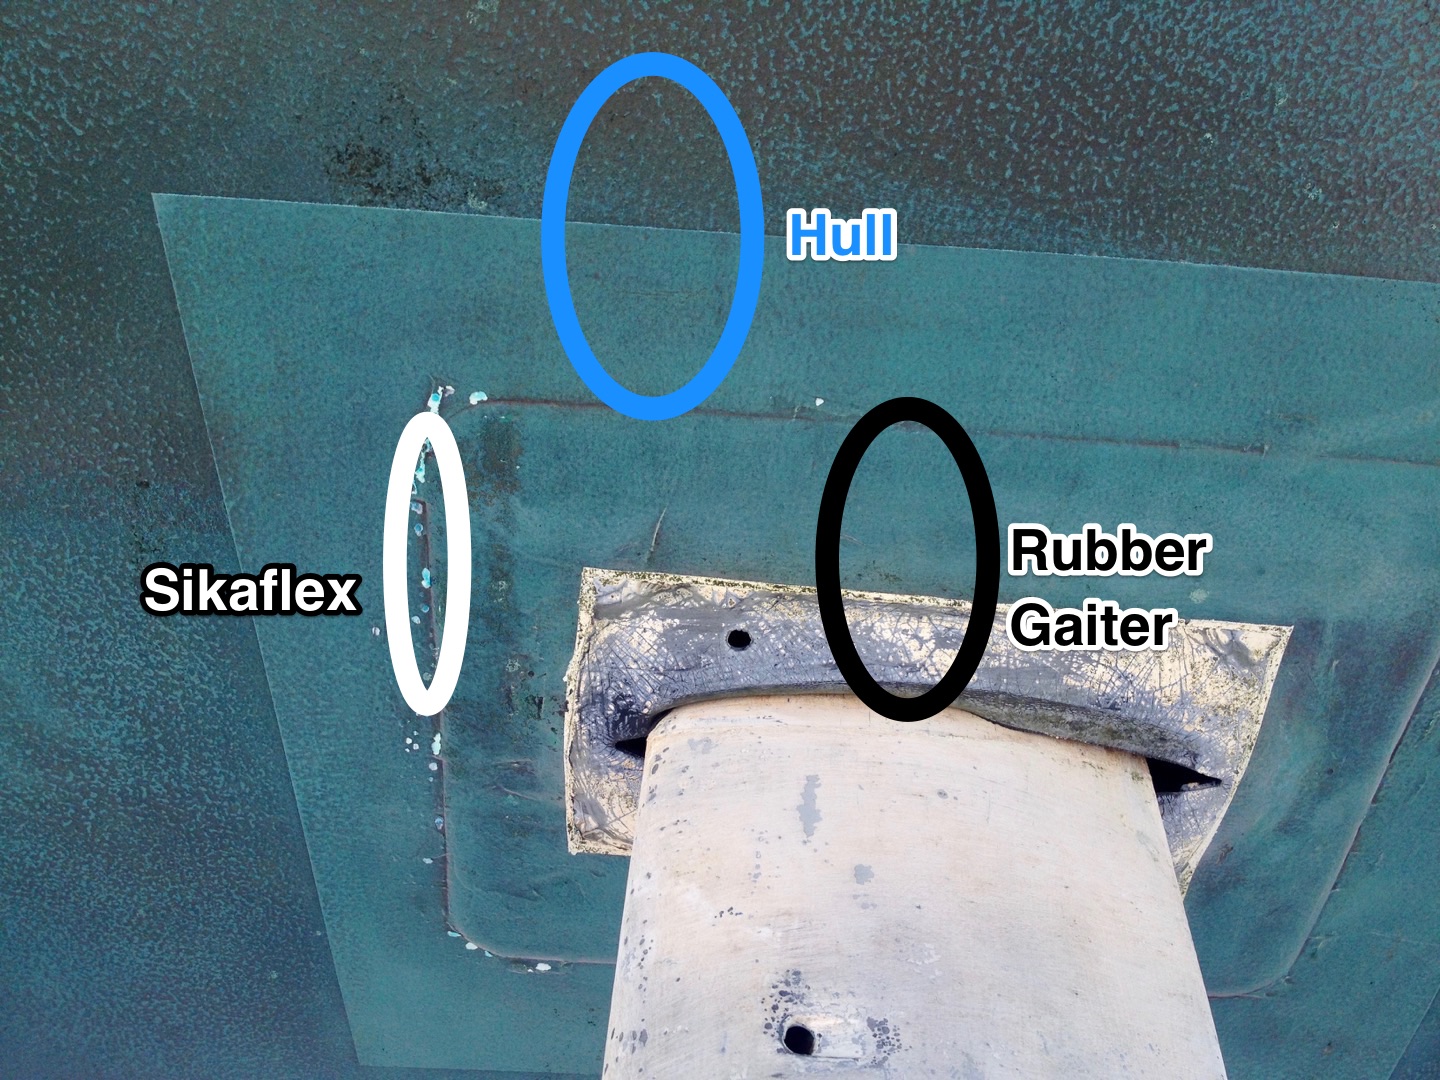
The adherence overall was extremely satisfying. During application, the largest concern had been the lead keel, but with the help of the Interprotect primer, the Coppercoat held on strong and none of it was coming off the keel, even when scraping off the hard fouling from the muddy mess. It also stuck well to the keyed gelcoat, but this was expected. I had also sanded part of the rubber gaiter on the hull around the saildrive leg and applied Coppercoat on half of that, fully expecting it to flake off, as the rubber would be flexing. Much to my surprise, all of it was still there and holding well. It turns out that while Coppercoat does not cope well with tension, causing it to crack, it does flex just fine on a surface that it is applied to. It did not stick too well to the Sikaflex 291i around the through-hulls and on the edge of the rubber gaiter, despite sanding this prior to application - but these were only very small areas, and only some of it came off. Good adhesion on the plastic transducer housings and Tru-Design skin fittings.
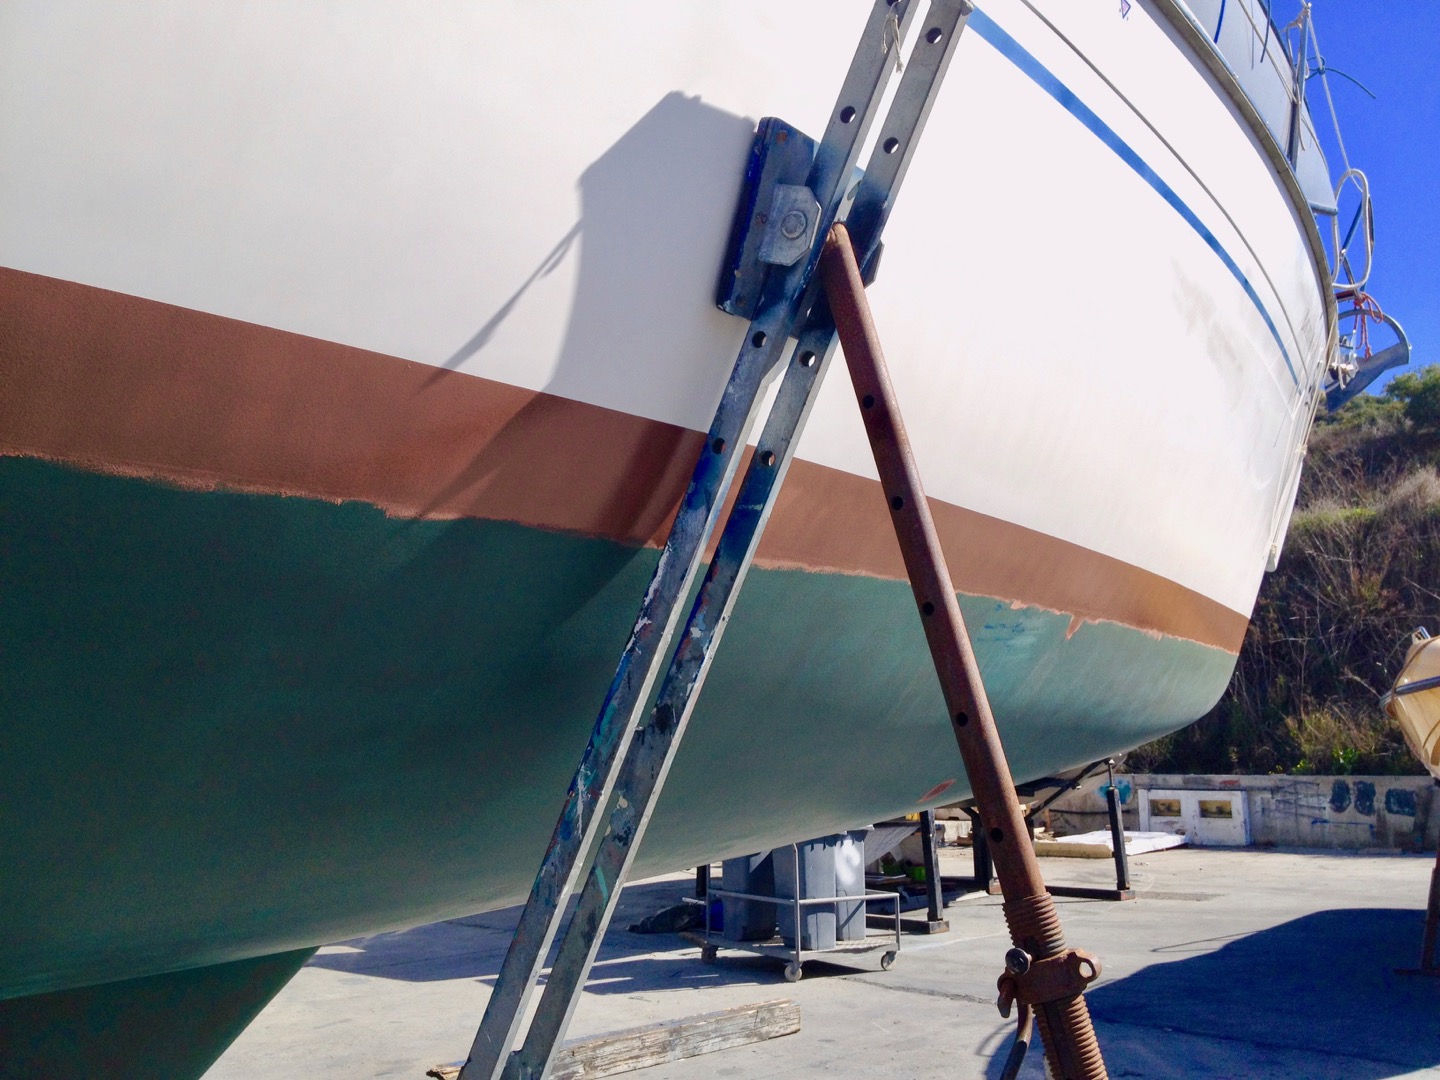
Apart from abrading the muddy areas on the bottom of keel and rudder, no further action was necessary to the Coppercoat. We prepared the new waterline as described in Part 1 and proceeded to apply four coats there. New Coppercoat can be applied on old coppercoat with a light sanding, and thus we just sanded the new waterline and over the paint lip of the previous one. As we were going to mix and apply more Coppercoat, the small blistered areas got sanded too and covered anew.
Update Mar 4, 2018: Forgot to mention the rudder. The side that got rained on during application had about two dozen of small (under 10mm diameter) spots where the Coppercoat simply flaked off during pressure-washing. As the other side that did not get rained on and was otherwise treated the same had zero problems, it's pretty clear to me that the flaking off was the result of the rain on freshly applied product, and shows the great importance of keeping the applied mixture dry until it has cured and is waterproof.
Overall, the Coppercoat is performing well and thanks to our DIY application had at this point already more than paid for itself, by saving us one annual haulout and two applications of conventional antifouling.